You can make these boxes any size.
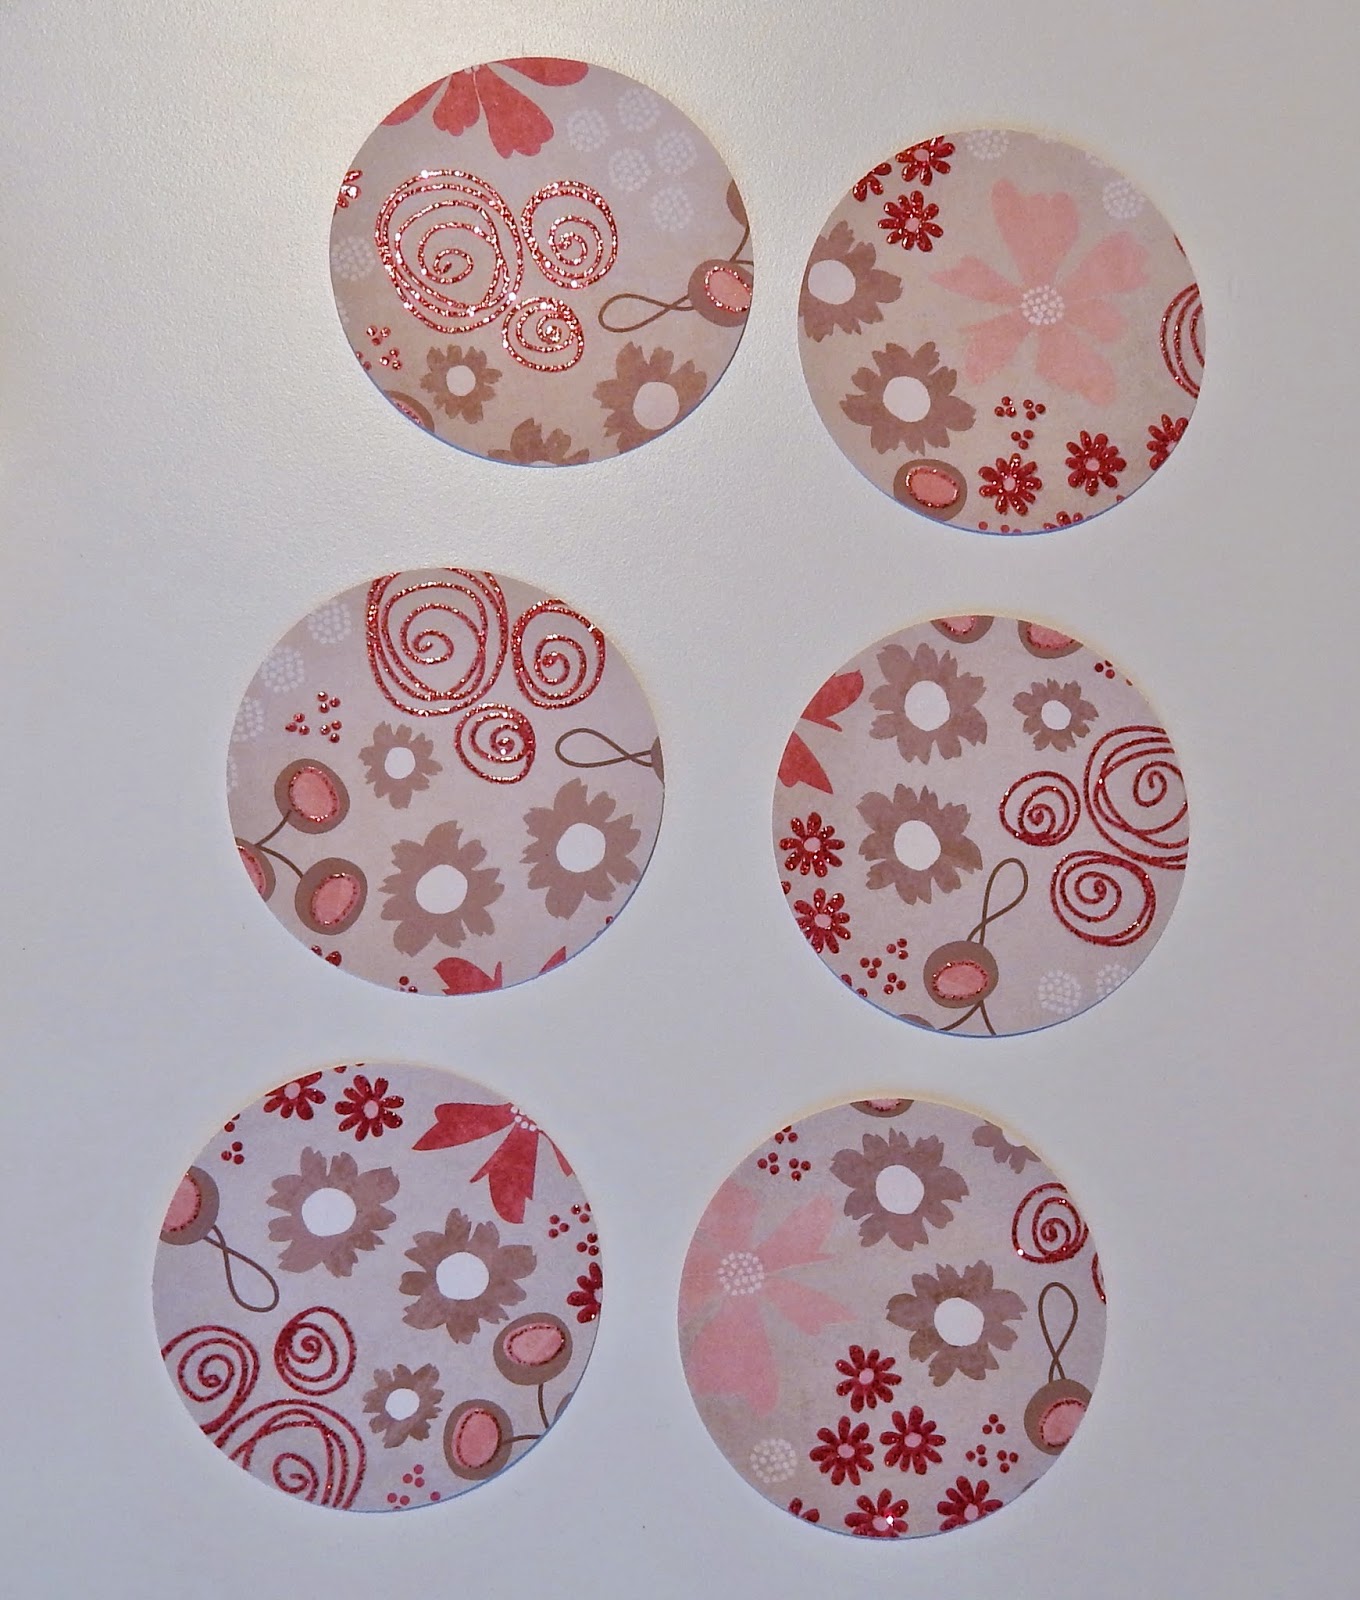
1. Punch 6 circles out of lovely papers,....
 ....then another from scrap. Fold the scrap circle in half one way then the opposite way. Draw a line from the ends of two lines and cut a square this size to fold your circle over.
If you want to make the inside circle defined, then fold the circles TOWARDS you over the squares, that makes them really easy to run the ink over with a blending tool or ink pad.
If you are not inking then fold the opposite way.
I find it helps to decide which circle will be the top and I use the least blingy circle for the bottom. I line them up and then take two at a time in the order they will stick and punch a hole through for the wire.
I use a glue stick for speed, and as I use paper that is strong enough. I stick the bottom and sides so that the punched holes line up - but not the top as this runs free up and down the wire (see main image above).
Then I glue the two other sides which don't need holes.
This is a pick of the bottom, with all sides and bottom glued
I put the lid in place, thread jewellery wire through from the top, down each of the two sides, adding the beads before threading through the final hole at the bottom and back up twisting the wire to secure (have a look at the main pic). Then the lid will slide up and down the wire so make sure the wire is long enough for a generous handle - this also means it can be hung from a tree or other decorative object if yo u wish! PLEASE IGNORE THE PIECE OF PAPER WITH "BOTTOM" WRITTEN ON IT¬ as that relates to previous steps.

Voila! Have fun, Suz xxx


