My little crafting world....


Hi all
I'm a complete craft addict! I have a small business called Surrey Crafts teaching craft workshops from my studio in Esher, Surrey and at venues around the country. I teach mixed media, decorative painting, card making and papercrafts, jewellery making and creative embroidery classes. If you'd like to find out more just leave a comment, or take a look at my other social media pages:
Facebook: https://www.facebook.com/surrey.crafts
Instagram: https://www.instagram.com/surreycrafts/
Pinterest: https://www.pinterest.co.uk/surreycrafts/
Crafty hugs & stuff
Suz

xx

Tuesday 10 July 2018

Pink Ink Seahorse

Hi all
A quick post about a journal page I made for a challenge in JJMMMA's facebook group which was based on using a gorgeous image from Pink Ink Designs. 
I didn't take pics of steps as this was really just for fun, but here's how I made it...
On my journal page I layered and blended all the DecoArt Neon colours in the product pic below.
I then printed out the seahorse design from the FB page as per instructions and traced it onto the page 3 times. I did make slight alterations, especially to the eyes, and left off the swirls that were on the original image for speed.
I then used DecoArt Transluscent White which is a media fluid acrylic (forgot to put this in the product pic!) all around the images, and blended in the cobalt teal hue towards the outside of the page. A coat of the Matt Medium once dry, to seal the image. This way you can work on it more but have a chance to wipe things away more easily, and also it makes for great blending when you add the shading.

At that point the England quarter final against Sweden started....and so did a lot of doodling whenever things got exciting! This also explains why the black outline I drew around the seahorses kept getting thicker and thicker as I was constantly looking up and down from the telly. But I used that to my advantage as I then had a thick enough line to do some dotting in with the pink, white and yellow Posca pens! I had also made lots of paperclay seahorses from a mold, and I took two of the tiny ones and painted them with the yellow, pink and orange neons, and edged with a black pen before gluing.

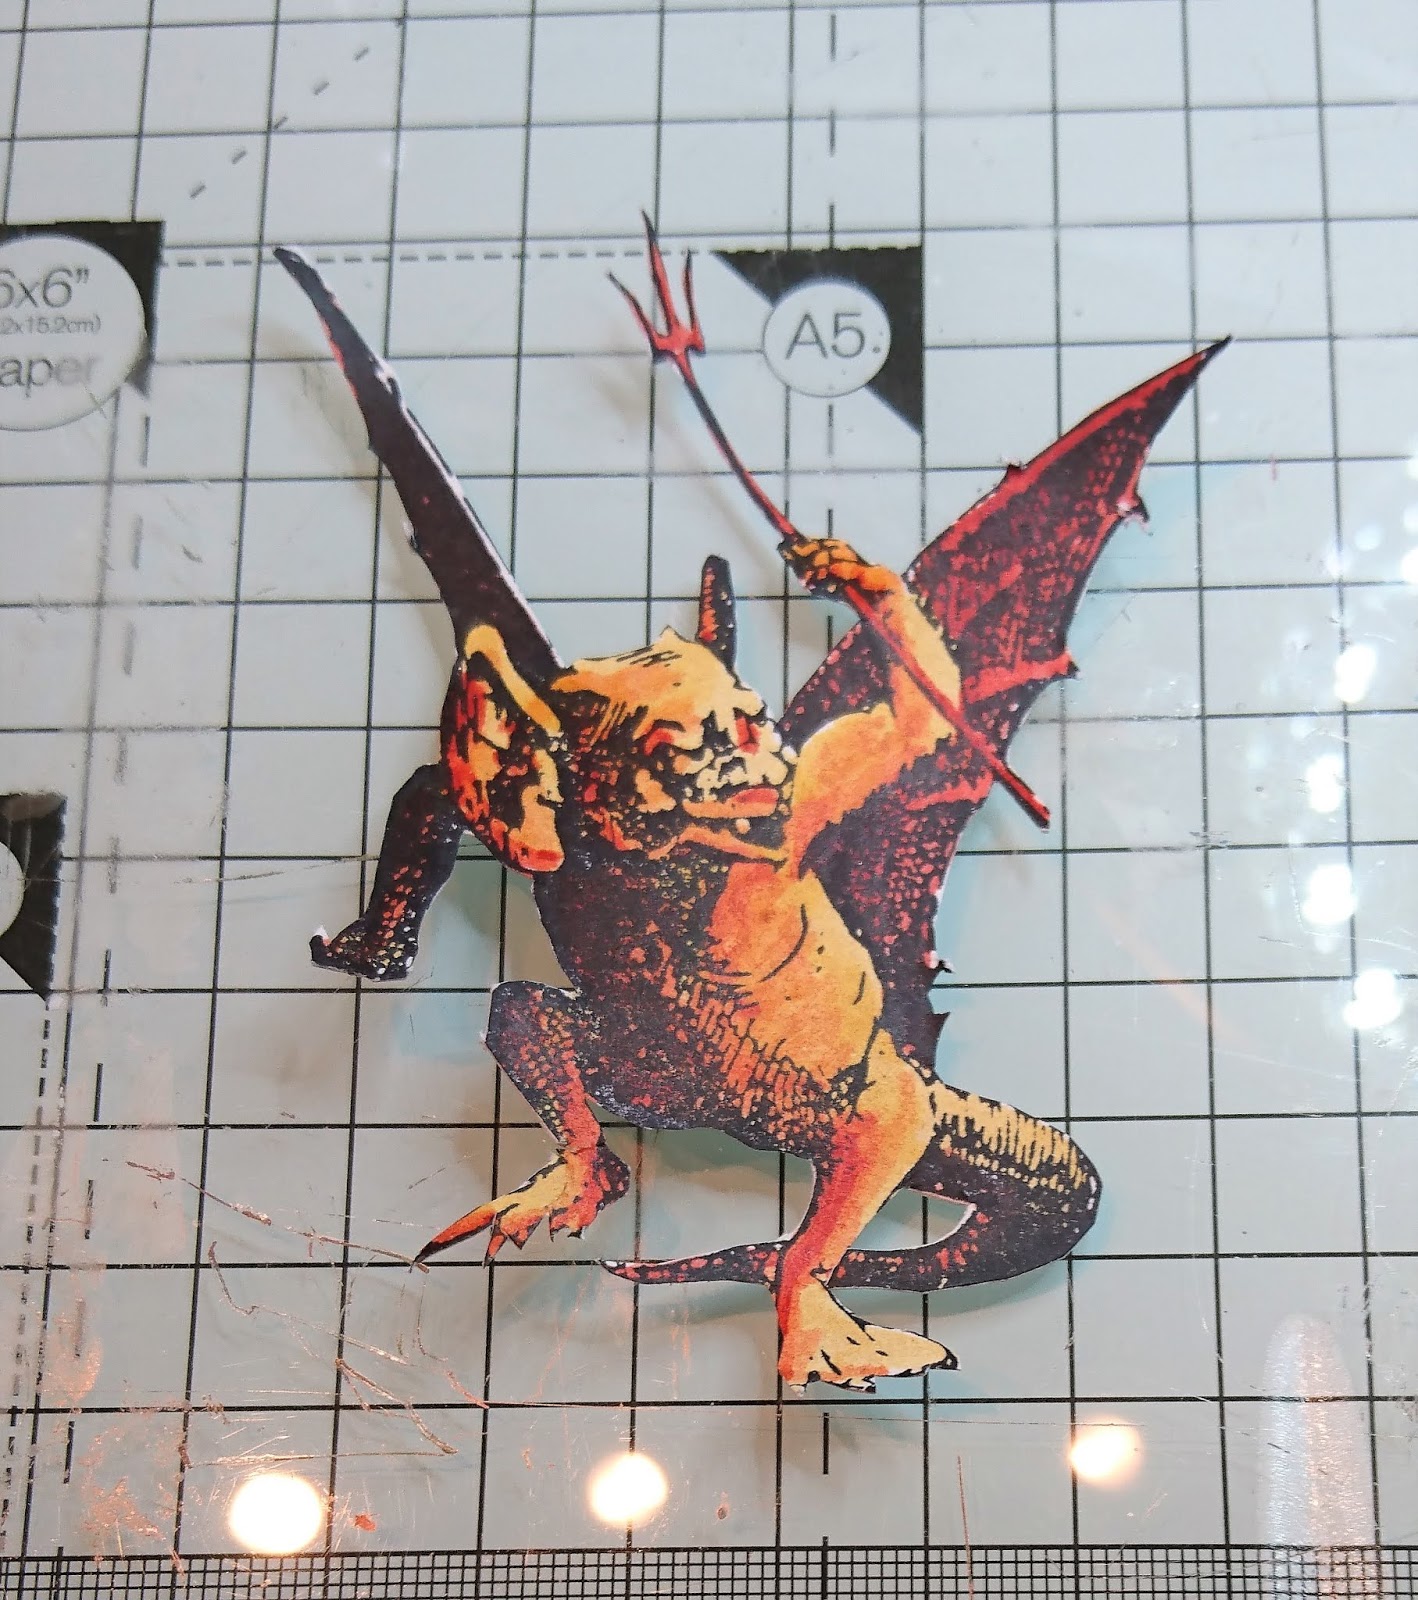
I die cut almost all the shapes from the Sizzix thinlets set below just from thin copy paper- again while watching the footie, so ended up doing LOADS, lol. 
Glued them all down using the Matt Medium again. I then used a stabile all pencil to shade all around the images (the other thing I forgot to put in the pic!). Lastly I wanted to add a bit of depth to the coral/ foliage so I used a very diluted Phthalo Turquoise and dabbed around and in between areas, and going back over where I wanted it darker. I also then went over all the shading I'd done with the Stabillo All pencils as I wanted the shadows to blend with the background rather than be black. Going over the top with a wash worked really well.  Lastly a less diluted phthalo turquoise used all around the edges of the page to frame it and some around the edges of the coral. 

Thanks for looking. 
Products used in pic below.
Suz x
Here are the products I used, except the transluscent white fluid acrylic, and the Stabilo All Pencil.

Friday 6 July 2018

'The Monster On My Shoulder' for the Craft Stamper Blog Challenge

Hi all

My project for this months Craft Stamper Make It Take It challenge is a journal page. Bit of a coincidence as I had decided to use this before I saw that the amazing prizes on the blog this month are based around art journaling!
These lines are what this page is about...…

THE  MONSTER  IS  ON  MY  SHOLDER 
SAYING  CRUEL  AND  HURTFUL  THINGS
I DON’T STOP AND LISTEN OR ARGUE
BECAUSE THEN IT’S THE MONSTER WHO WINS
NO  DISCUSSION  OR  ATTENTION, 
NOT  EVEN A  WITHERING  GLANCE
I’LL  PUSH  IT  OFF  MY  SHOLDER  
AND  CARRY ON  TAKING  A  CHANCE

…... that voice of doubt on you shoulder, whispering in your ear (or maybe not on your shoulder....maybe someone you work with, live with or are 'friends' with) constantly belittling and making us feel inadequate. And how we have to learn to ignore it, overcome it and keep going.
Here's how I made it.

 Layer of white gesso.
My background colour choices (I can't keep away from blue!!!) and the focal stamp...one from Andy Skinners Spook set
 Couple of fluid acrylics in blue brayered on...….
 Green and white then brayered over....spritzer with water when needed.....
 Background stamping with Andy's 'Tech Trauma' set.
 Now for the girls outline and where to put my little gargoyle! I adjusted the shoulder shape for it to sit on.
 Mixed up some flesh colour (ALWAYS mix up more than you need....I found that out several times during this and other projects!).
 Painted in white eye areas....these below are the colours I used for skin, lips and eyes.
 Added in some shadows and shading with some Burnt Sienna and pulled in the cheek a bit....
Stamped, embosse, cut out and painted my lil monster......

 
Added hair around the girls features, defined face shape and started to add some tendrils over the shoulders. Stuck my monster on and added the title words, shaded around the monster with Pitt pens.
Added some white highlights with a Posca paint pen to the monsters' fangs, eyes etc....
Thought I was finished at this point.....
But came back and thought she looked traumatised, unhappy, unwell and like her 5'o'clock stubble was getting out of control. The point of this page was to BEAT the monster, not the other way around! So I completely re-painted the face, took out the shadows and altered the shape to make her less ill looking! I even gave her a coat of glitter paint on her face and a proper nose!!! Stamped lots of words from Andy's 'Word Up' set onto tissue paper and glued them onto her face, shoulders and hair.  This is safer than stamping directly onto a very textured project, or one you don't want to ruin, or if you are just a bit tired! I then had fun doodling, drawing hearts, outlining some words, adding white hairs and journaling (writing stuff) around the outline of her head and shoulders.

 I went back around my monster with a Stabillo All pen and a water brush to shade.
I also gave her mouth a kind of 'sealed lips' look.

In this pic below you can just about see the glitter on her face.....
It has taken me months to feel this is finished! Mainly because the face went through a stage where I thought I'd finished then would come back to it and hate it! Even now she is far from prefect! But that kinda ties in with the whole purpose of the page. Not to listen to doubts but to trust your judgement and keep going!!!

Thanks for looking and good luck with your monster......and the competition!
Suz xxx