My little crafting world....


Hi all
I'm a complete craft addict! I have a small business called Surrey Crafts teaching craft workshops from my studio in Esher, Surrey and at venues around the country. I teach mixed media, decorative painting, card making and papercrafts, jewellery making and creative embroidery classes. If you'd like to find out more just leave a comment, or take a look at my other social media pages:
Facebook: https://www.facebook.com/surrey.crafts
Instagram: https://www.instagram.com/surreycrafts/
Pinterest: https://www.pinterest.co.uk/surreycrafts/
Crafty hugs & stuff
Suz

xx

Sunday 28 December 2014

Tree treat boxes

Made these little tree treat boxes as gifts for my workshop ladies. I designed the boxes so the lids could slide up wire so that I could pop a treat in them.. Bit fiddly as I'd decided to use jewellery wire and beads as a decoration on the mechanism, but this did mean they could hang from a tree. I thought the fiddliness was worth it as they did look lovely, if I had been making less of them I'd have added even more beads! I didn't take step by steps so I've made a tutorial with pics below.

You can make these boxes any size.
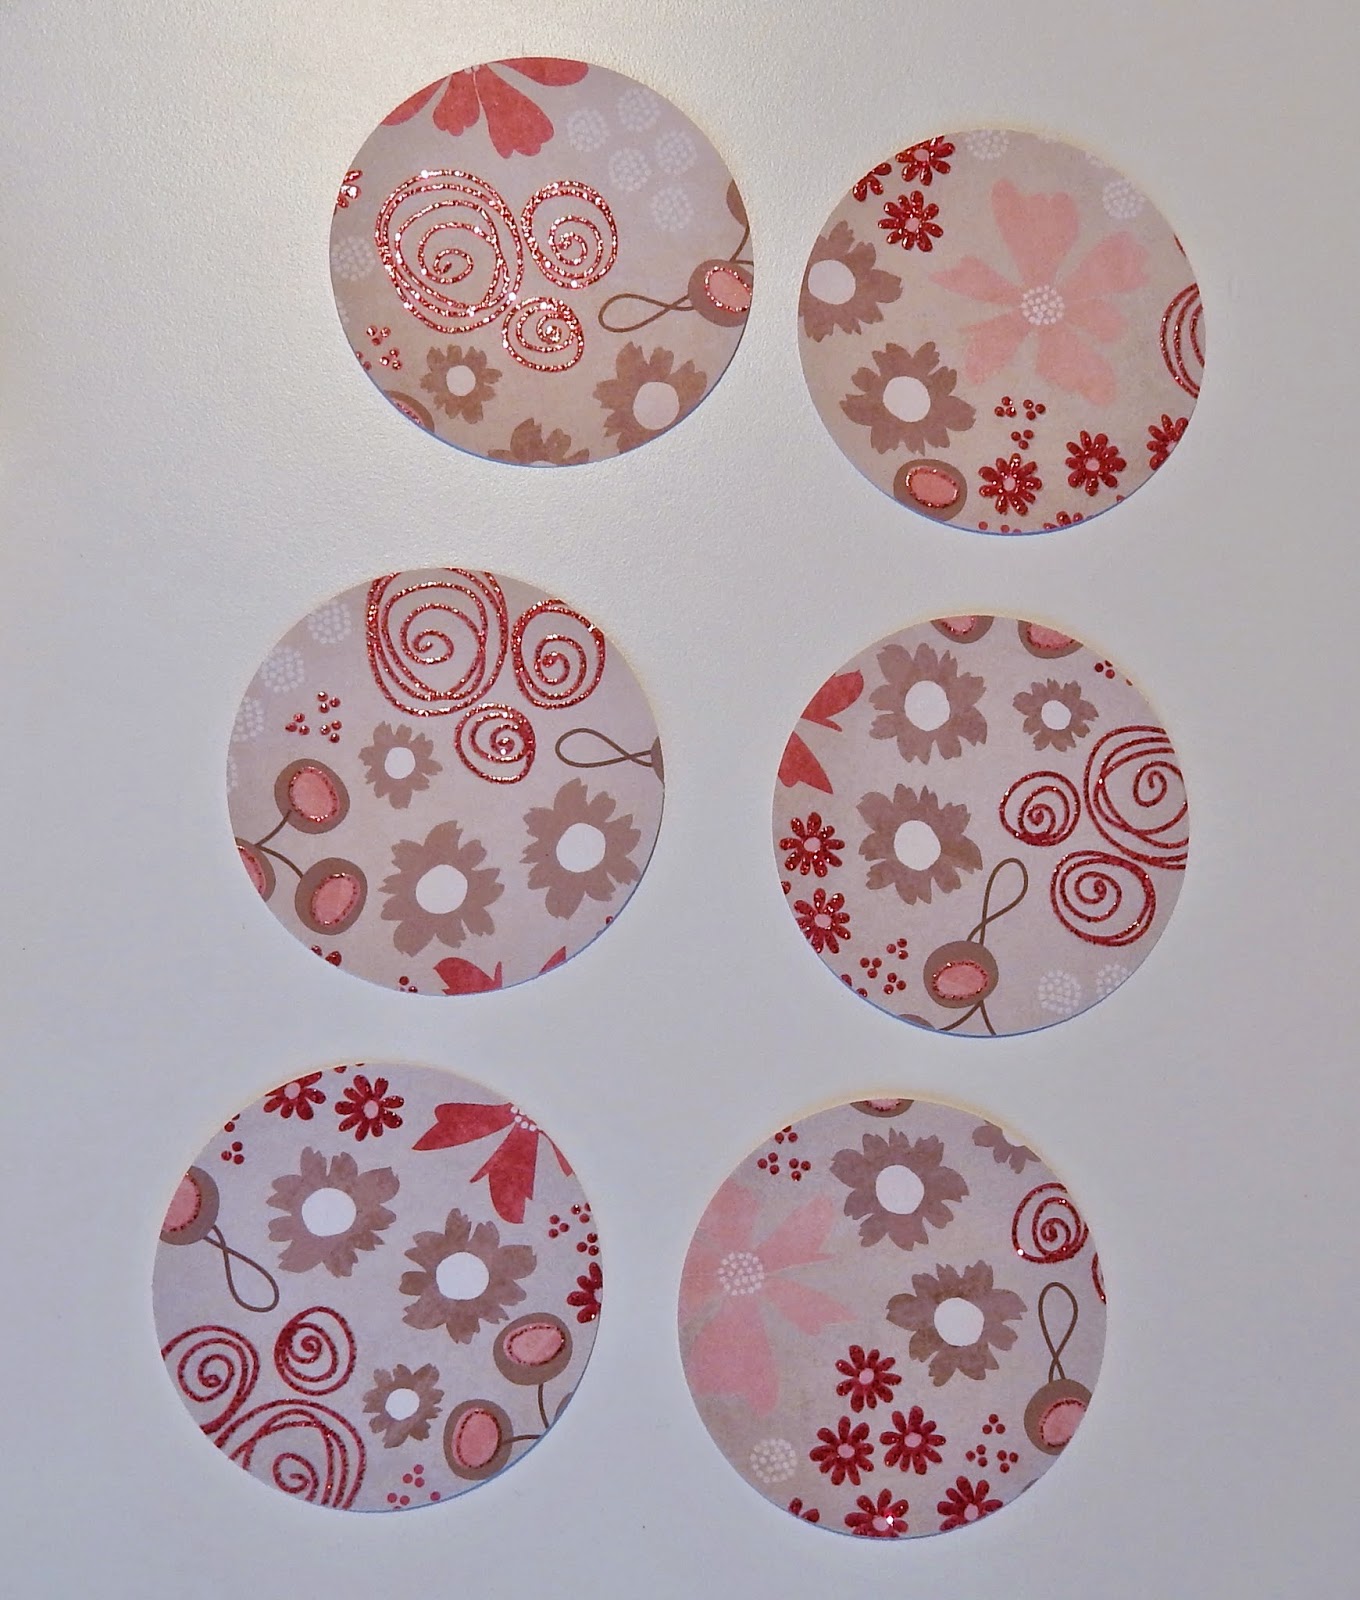
1. Punch 6 circles out of lovely papers,....

....then another from scrap. Fold the scrap circle in half one way then the opposite way. Draw a line from the ends of two lines and cut a square this size to fold your circle over.

 If you want to make the inside circle defined, then fold the circles TOWARDS you over the squares, that makes them really easy to run the ink over with a blending tool or ink pad.
If you are not inking then fold the opposite way.
 I find it helps to decide which circle will be the top and I use the least blingy circle for the bottom. I line them up and then take two at a time in the order they will stick and punch a hole through for the wire.
I use a glue stick for speed, and as I use paper that is strong enough. I stick the bottom and sides so that the punched holes line up - but not the top as this runs free up and down the wire (see main image above).
 Then I glue the two other sides which don't need holes.
 This is a pick of the bottom, with all sides and bottom glued

And this pic is with the box upright and just needing the wire, beads and lid added.
 I put the lid in place, thread jewellery wire through from the top, down each of the two sides, adding the beads before threading through the final hole at the bottom and back up twisting the wire to secure (have a look at the main pic). Then the lid will slide up and down the wire so make sure the wire is long enough for a generous handle - this also means it can be hung from a tree or other decorative object if yo u wish! PLEASE IGNORE THE PIECE OF PAPER WITH "BOTTOM" WRITTEN ON IT¬  as that relates to previous steps. 
Voila! Have fun, Suz xxx

Tuesday 9 December 2014

Mini Christmas Pud card

Here's the cute mini card I made for my lovely workshop ladies. 
Great card when you need to make lots. Here's how and products used:
Mini white card blank. Cut gold card 1cm smaller than the card. Then a red square 1cm smaller than the gold. Punch a 1inch circlefrom brown card. add white to the top (I used a white corrector pen as they were cheap and gave good, quick opaque coverage). Punch a holly shape from green card and add gems or stickles glue (I used stickles as quicker, but go lightly). Stamp the base that sits under the pud, I used one from the spellbinders set that I got free with a mag. Then stamp the greeting. I used on from a fav Christmas set by JoFy. Draw lines with shapes using a micron pen and colour in with a white pen or the corrector pen. Then glue the brown circle and add the holly and berry shape. Voilla! Have a go, it's easy! Suz xxx

Monday 8 December 2014

Poinsettia Tree decoration

Here's a Christmas Bauble I made using the Oak House Studio Poinsettia and Winter Words stamps.

I painted the wooden shape with white Gesso and once dry I inked the whole thing withVersamark then heat embossed with Stampendous Aged Aqua embossing enamel ( had this for years but never know what to use this for before!!). I then stamped the Winter Words across the whole thing with Valentine Pigment ink (also from OHS). I stamped the poinsettia twice onto red card and once onto green, cut out and layered them up, glued them onto the bauble and added Stickles glitter around the shape and leaves and some seed beads to the centre of the flower. Then a bit of ribbon and a bow and voilla! Have fun with your baubles! Suz xxx