Last November I ran gelli plate printing sessions at the Ministry of Mixology retreat in Coventry. They were super fast sessions, great fun with brill people.
I then had the chance to borrow the plates so that I could run a charity art event last weekend. That turned out to be an amazing day, with the most kind and generous people, with wonderful sponsors and donations from my fantastic crafty friends. By mid day today, including match funding of £350, they helped me to raised a total of £1191! I promised a blog post, so here it is!
How to make the prints, how to doodle on them, and how you can use them. Enjoy - and please leave a comment.
Suz xxx
Samples of the heart prints
Samples of the plain ghost prints
Samples of the star prints we made at Mixology - same principles as below, just different shapes and colours
Samples of the sunset prints made at the charity Art Event
Samples of the flower prints we would have ade at the charity event ....if we'd had time!
 |
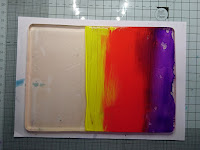
| Add Place a piece of white paper larger than your plate, underneath the plate. This will help you line up all your prints so you end up with your paints focused in the same area. |
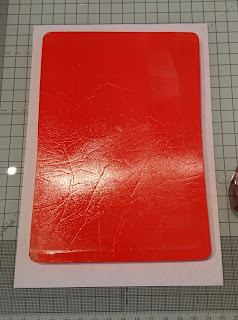 |
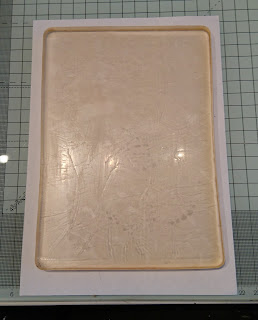
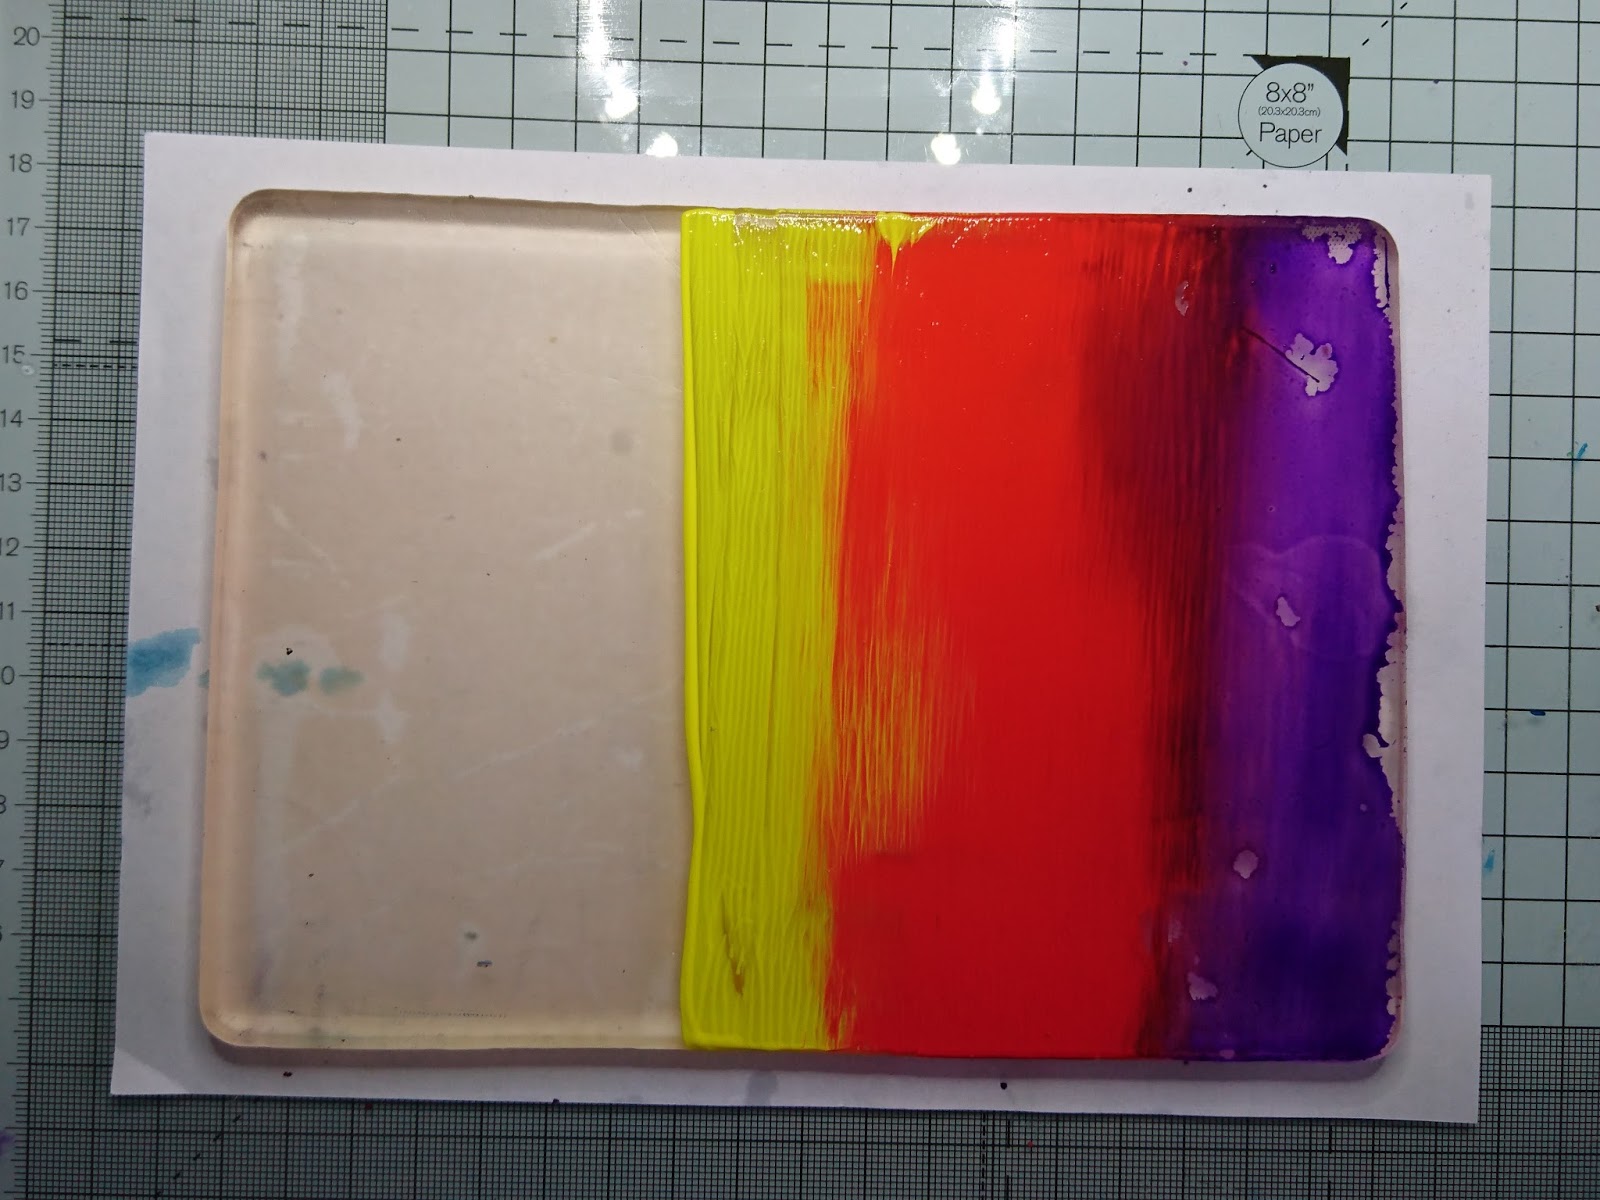
| You'll need just 5 drops of red directly onto your plate. Brayer so that it covers the whole of the plate. |
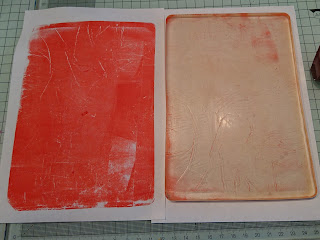 |
| Take a clean piece of paper and place it on top of the plate, lining up the top edge with the edge of the paper underneath your plate. Smooth over the back of the paper and pull the print away from the plate.This pic shows the pulled red print is a bit patchy. If you want a really intense colour, repeat the process as I did (see deeper colour in next pic) or roll off the excess paint from your brayer over the top. |
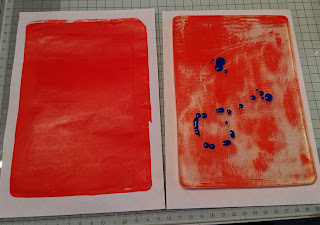 |
| One way to clean off the plate, if you have quite a bit of paint left on it as there was in the far right pic (taken after a second layer of red was applied ad pulled off), add a few drops of a contrasting colour to the plate, brayer over the whole plate, lay down a fresh piece of paper on top of the plate and pull a second print. This is called a ghost print as it pulls up what was left from the previous print. |
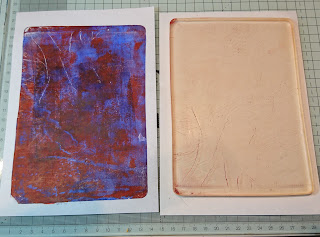 |
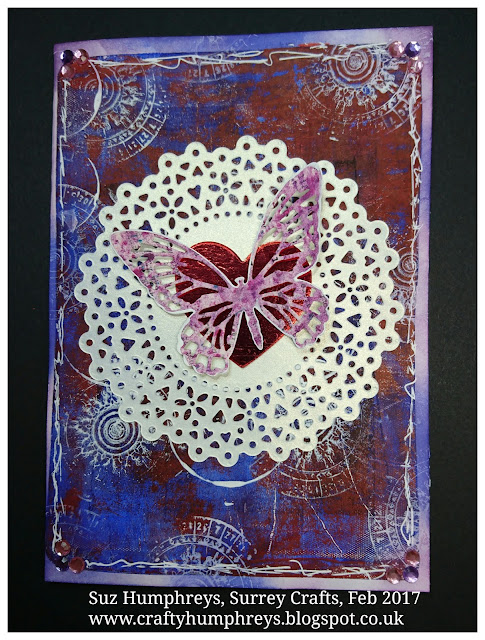
This pic shows a ghost print with the red base
and the blue behind.
You'll see at the end of this post how
I used this print to make a lovely card.
|
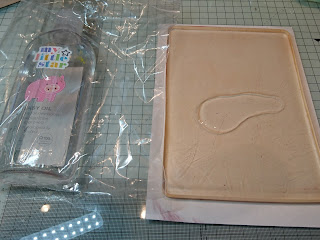 |
Another way to clean off your plate is to wipe it with a
few drops of baby oil and some kitchen towel. |
 |
To make the heart print, turn the plate so that
it is landscape. |
 |
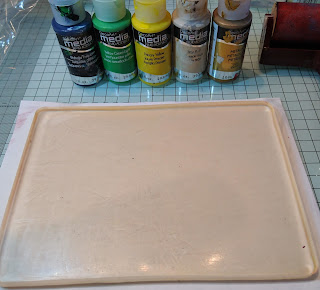
I worked from the right to left, as I'm right handed.
One drop of gold, 2 of Titan Buff, and 3 of Primary Yellow and brayer up and down to create a striped effect. |
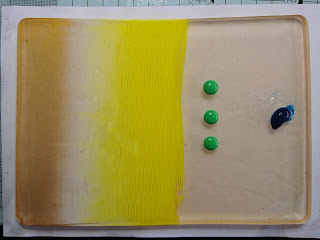 |
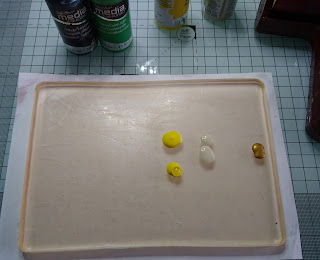
Once brayered, turn your plate 180 degrees so that you are still working on the same side no need to clean off the brayer, but you can if you wish, then add 3 dops green in the middle and one of Phthalo Turqoise at the end (I spritzed the Turquoise with water as it is such a strong colour,
and again brayer. |
 |
When you are adding paint, turning and brayering,
you need to work quickly so the paint doesn't start to cry before the next step, spritz lightly with water if you need to extend the 'open time'. I then turned my plate back to a portrait position. |
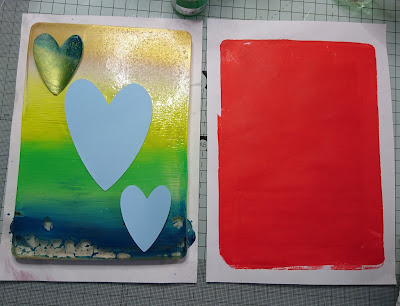 |
While the paint is still wet on the plate, pop down your paper shapes, (you could also use stencils) take your original red print (shown on the right) and place it face down onto the paint covered plate, on top of the shapes. Smooth down, or roll the brayer over the back
(this would also clean off your brayer).
Where I've got a little baby oil residue, the spritzed paint 'puddled', but I like the effect. To avoid this make sure you wipe off all the oil, or don't spritz with water! |
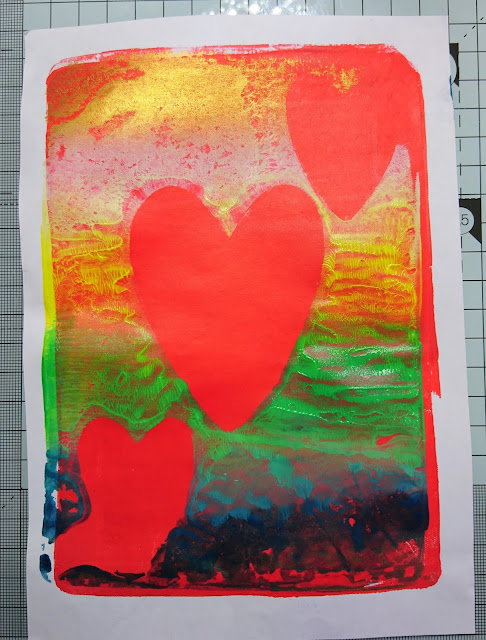 |
| Pull off your print. Don't worry if you have some 'undefined' areas, we'll doodle on them and make them look fab! |
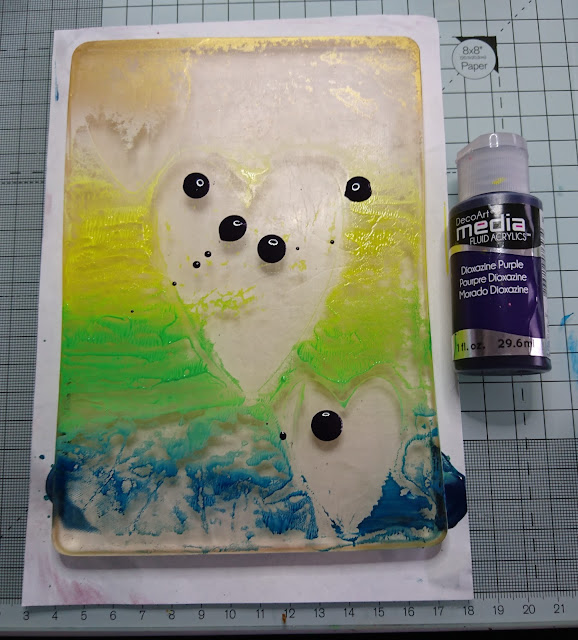 |
| I worked a bit slowly because I was taking pics, so had a lot of paint left on the pale. So I took another 'ghost print' I used purple as my contrasting colour on the plate, brayered over the whole plate and pull off another print. Sometimes these make the BEST prints as they are so unpredictable and interesting!Remember to line up your paper with the sheet under your plate so your paint lays in the same area. |
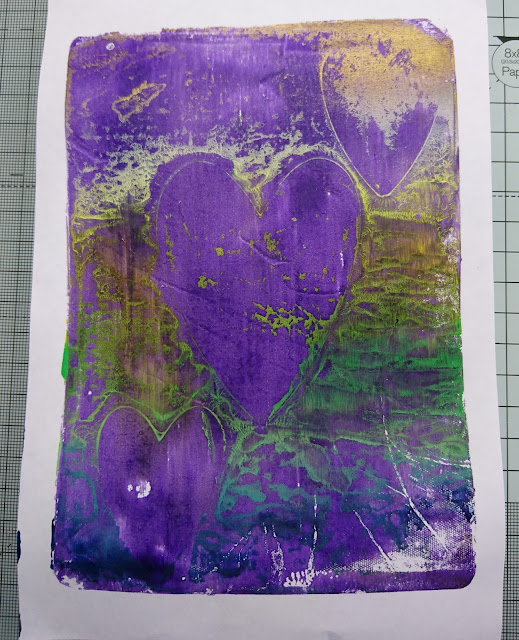 |
Here's how the ghost print turned out - love it! And it'll be even better once I've doodled! Again see further down the post how I used this one too for another lovely card!
Main print and ghost print with the start of penwork
I then used paint, a dotting tool, pens, charcoal and various shaped lids to decorate and doodle on the prints.
This bit is soooo much fun!
All Done for now for now - lets move onto the sunset. |

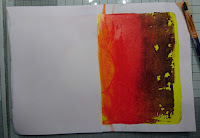
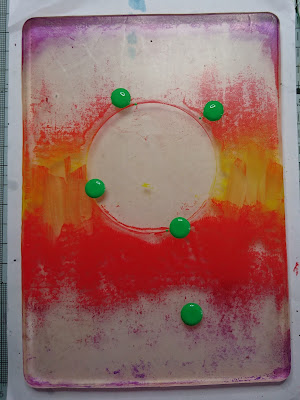
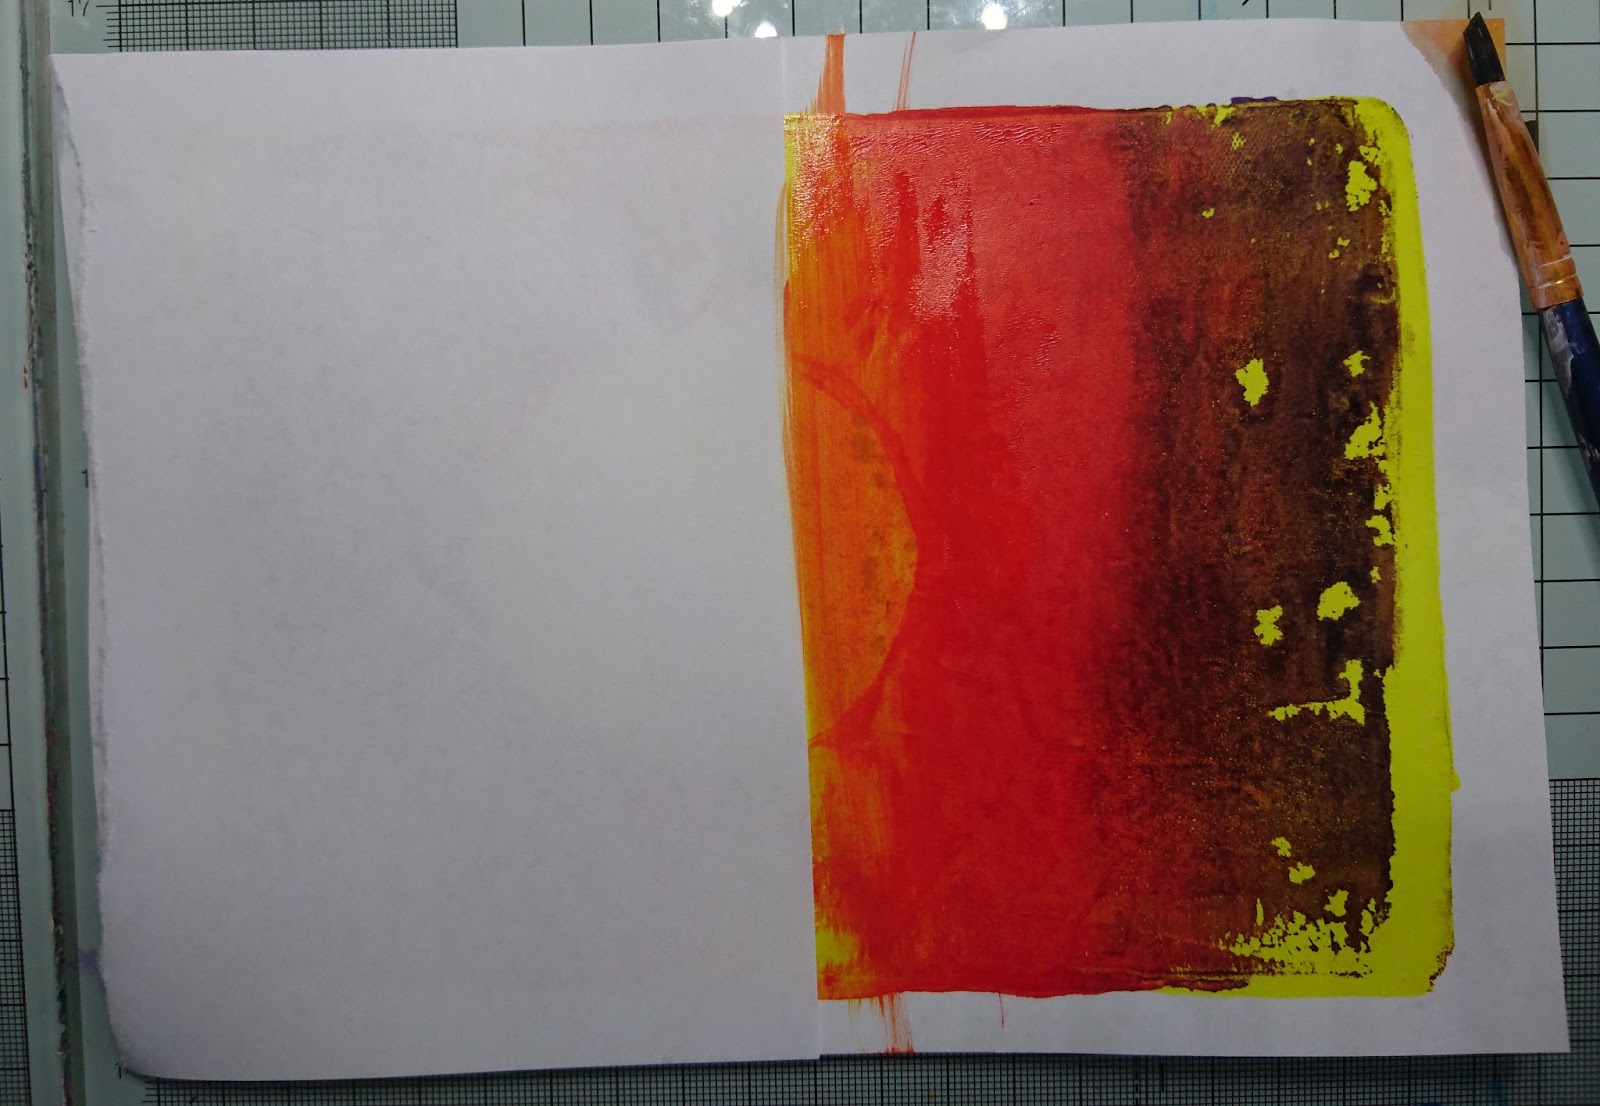
To make the sunset, repeat the first steps used for the red print above, but using the primary yellow instead of the red.
For the second layer of the sunset, again turn the plate to work with it landscape, have your yellow print ready and a die cut circle shape. working from one side towards the middle, take 1 drop of the purple, 2 of the red and 3 the of the yellow and brayer.
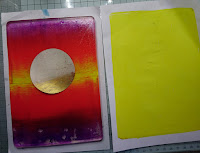
Turn your plate right the way around again (180 degrees), so you are working on the bare side of the plate, and if you have enough paint left on your brayer, just brayer up and down again - creating an almost symmetrical look. Working quickly, lay down your circle shape just slightly higher than central. Take your yellow print, place it face down onto the wet plate (again lining up the top of the yellow print with the paper underneath the plate. Smooth the back of the paper so it soaks up all the paint, then pull away.
You can see the print here on the left, and the plate with the paint residue.
Now take the print, place a piece of paper so that the straight edge is along the middle of the page (to create a horizon) and sweep a wet paintbrush across the straight edge of the paper, if the paint is still we it will spread it across the horizon- if the paint has already dried, use your wet brush to pick up some red/ yellow from either your brayer or the plate.
You can see here when I lifted away the straight edge of the white paper, the circle is now painted across the bottom creating a beautiful sunset pic to work on.
 |
| Now use up all that gorgeous residual paint by adding a few more drops of a contrasting colour, and pull another print. |
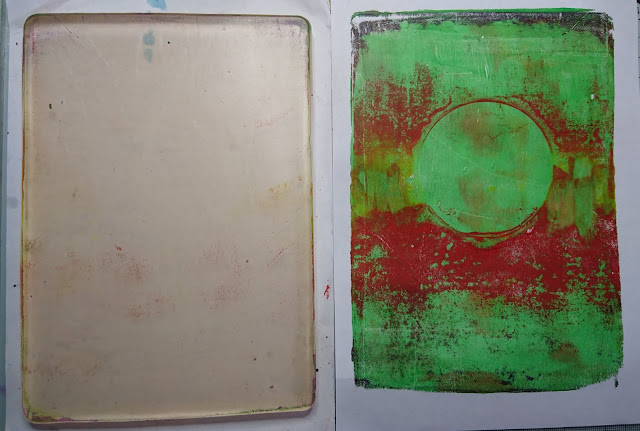 |
And another fab background to work on,
and much less paint to clean off the plate
Here are some of the finished samples to show how you can use your lovely prints! |
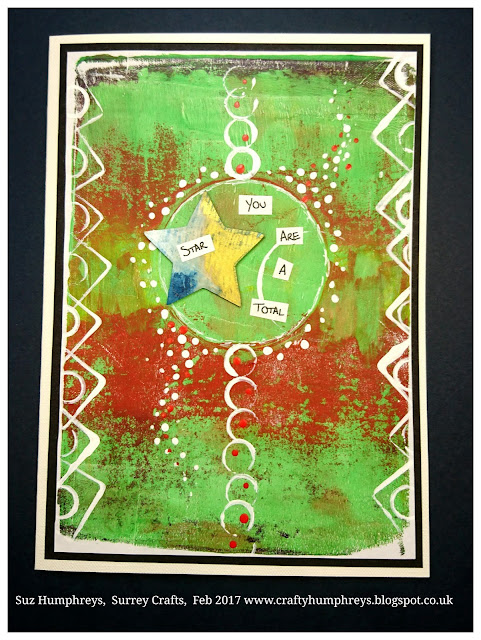 |
| Here's the lush green ghost print, made into a congratulations card |
 |
Dodgy pic (sorry!) of a thank you card
from the first heart 'ghost print'. |
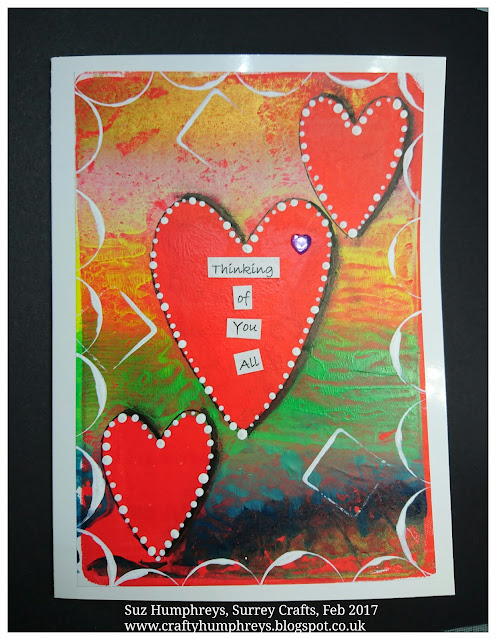 |
A card for a special pal and her family
using the main heart print. |
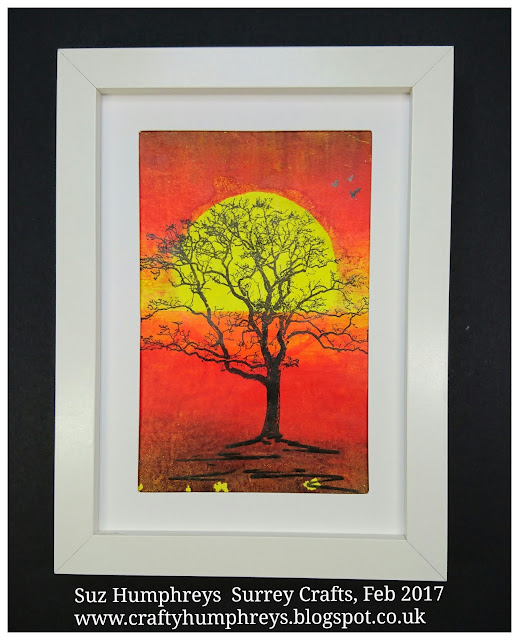 |
Here's how I used the sunset print -
great pressy for a friend who loves Africa |
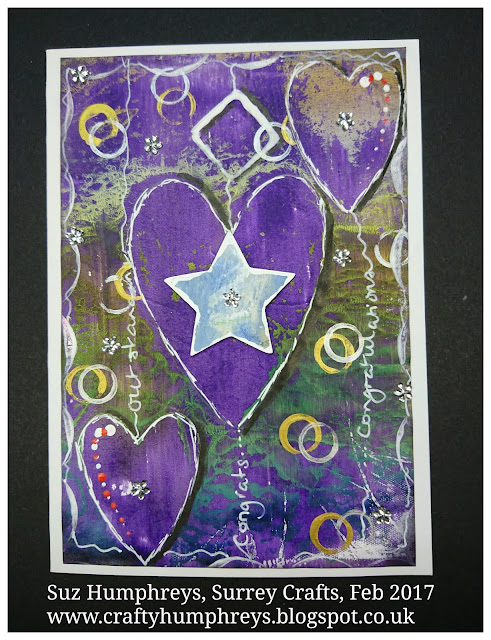 |
| Here's how I used the purple 'ghost print' - to make a fab card to celebrate another friends achievements! I used a star shape which was a 'mask' shape from the star prints shown at the beginning of the post. |
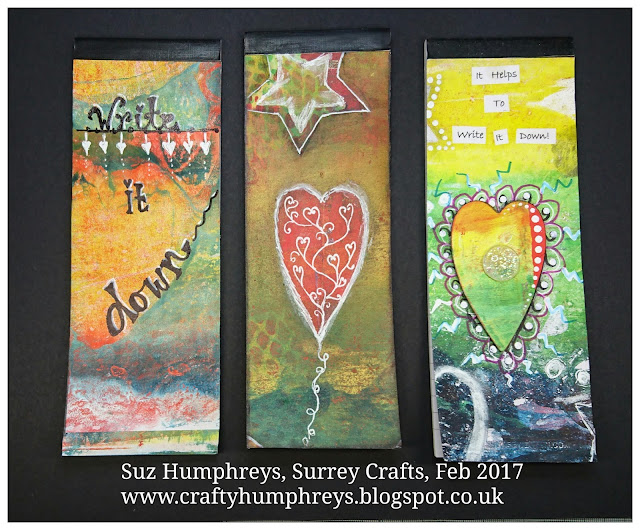 |
And here I cut up various spare prints
to decorate shopping list pads. |
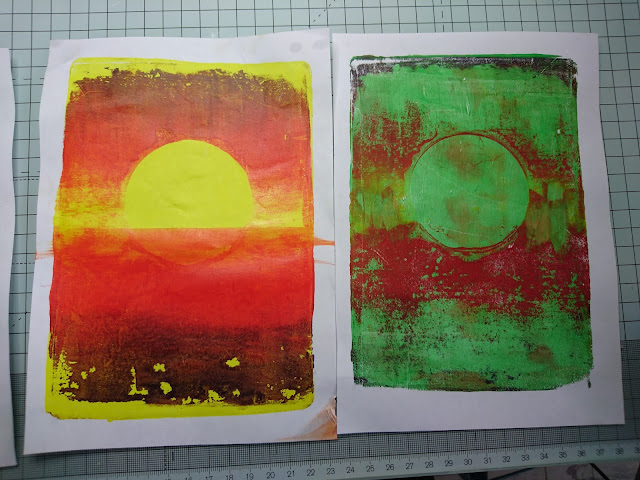 |
| The main sunset and the ghost print before doodling |
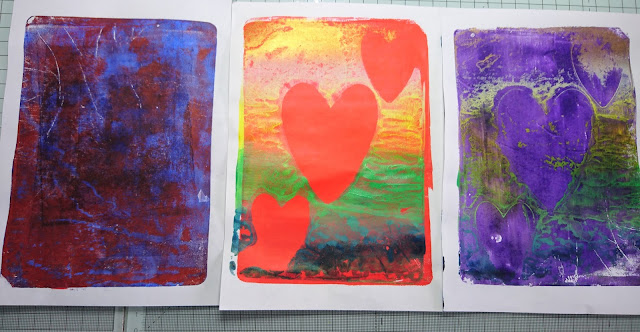 |
The main heart print and the two ghost prints
|
I hope it gives you some ideas and that you'll have a go too!


 You can see here when I lifted away the straight edge of the white paper, the circle is now painted across the bottom creating a beautiful sunset pic to work on.


 To make the sunset, repeat the first steps used for the red print above, but using the primary yellow instead of the red.


 You can see the print here on the left, and the plate with the paint residue.


