My little crafting world....


Hi all
I'm a complete craft addict! I have a small business called Surrey Crafts teaching craft workshops from my studio in Esher, Surrey and at venues around the country. I teach mixed media, decorative painting, card making and papercrafts, jewellery making and creative embroidery classes. If you'd like to find out more just leave a comment, or take a look at my other social media pages:
Facebook: https://www.facebook.com/surrey.crafts
Instagram: https://www.instagram.com/surreycrafts/
Pinterest: https://www.pinterest.co.uk/surreycrafts/
Crafty hugs & stuff
Suz

xx

Saturday 28 March 2020

Handle With Care 3D Challenge Craft Stamper AND FOLLOWER GIVEAWAY

Hi all
I'm almost at 40,000 views on my blog - when I reach that I'll be doing a giveaway - a little box of art goodies to one of my followers! To be in with a chance, complete the 'follow by email' box on the right hand side bar! And when I reach the magic number I will pop up another post with the prize and winners name. Good luck!

A while back I was invited to make a 3D project for the Feb 2019 edition of Craft Stamper. Small wooden hearts were the challenge - and with it being the February edition and Valentines and all.....I just had to use broken scissors and a broken candle holder! I know, I'm a bit strange. But it made perfect sense to me! It was because I'd chosen a stamp 'Handle with care' that perfectly fitted the largest heart....and I thought my scissor handles would be a quirky fit for the 'handle' bit. At the same time I had also been teetering on whether to throw away the broken ceramic candle holder - there must be a way to use it, I thought, I'd paid good money for that, before dropping it, ooops!  So .....here is the finished project.....
                                                       and here's the process....
Sat looking at them for a while.....put the scissors in the broken candle holder hole....how can I make the scissors secure?
 Left that problem for a bit and painted the hearts white....
 Decided to make a gelli print to decoupage onto the hearts.....thought all red would be a bit too obvious for the hearts....so to my usual fab colour of cobalt teal hue! I added a little red, just as a token nod towards Valentines day.
 Then for the fun part! Neon green dabbed onto the print, dried , then neon pink. I LOVE those colours! Especially when it is November and you are making lots of wintery,  Christmas stuff, lol.
Paper dried, Andy Skinner text stamps at the ready, (to see his full range click HERE ) on to the stamping platform. Bit tricky as the paper moves a bit as so thin and I forgot to use my anti static pad (doh!). But I got all the words stamped onto the paper in the end.
 Popped the hearts on top and tore round them, it was just a rough tear for positioning. Once I'd done that I used a sanding block to tidy up all the edges.
 And a sudden idea on how to stick my scissors to my broken base......air dry clay! I pulled some out and shaped it around the scissors, smoothing it down onto the base. Then left it to dry overnight. I was still a bit nervous about this breaking in the post when I sent it off for the magazine pictures...so I then used some plaster roll to strengthen it all even more.
Cut a strip from the roll (you get lots!), then cut it lengthways, dipped each strip in water and draped and moulded them to the scissor base. You can get this quite smooth if you work it, I left some a bit textured as I love that look.
 So that I could paint onto the metal scissors, I coated them with DecoArt Multi Purpose Sealer. I did the hearts too….not sure why! Once all that was completely dry I painted the whole thing with white gesso - but forgot to take a picture.
I cut fairly long sections of 4mm jewellery wire and twisted some spirals a few centimetres from the top of the wire.  I used a tiny drill bit to drill a hole into the bottom of each of the hearts, then pushed the top of the wires into the holes, they were a really snug fit! 
 Having decided where I wanted them, I took them in turn and wired each of the hearts onto the scissor handles.
 Next wire added to have a smaller heart in the middle above the largest....and then the final two to the sides.
 I added more wire to the base to tie it in with the top half, then used Andy's window stamp as the criss cross middle is a fab pattern for texture, stamping randomly between the wire with an Archival ink pad.
 Here's another pic of the base
 I also stamped onto the scissors.
 Loved the movement the wire gives - hoping it survives being bent for posting!
 A pic of the finished piece.
Thanks for looking!
And good luck out there.
Suz
xxx

Sunday 15 March 2020

ATC Mini Book

A fun, quick and easy ATC Concertina Mini Book for Andy's Creative Team, using Andy Skinner's stamps and transfers, along with a few other fab Creative Expressions goodies and, as usual a bit of upcycling! Here are the front and back covers, and then a photo tutorial of how I made it.


I've just got my hands on some of Andy's new stamps, along with some other Creative Expressions goodies. I had so much fun with this, it was quick, easy and total art therapy, a real antidote to all the troubles of the world.
 Intense Pigment stains used on old curtain lining. It's a beautiful, smooth and strong material and the pigment stains are amazing.
 I glued the fabric to an ATC sized piece of card using a slightly diluted Quick Grab Glue applied with a brush.
 I cut and folded card to make a concertina insert, you could use any card suitable for mixed media.
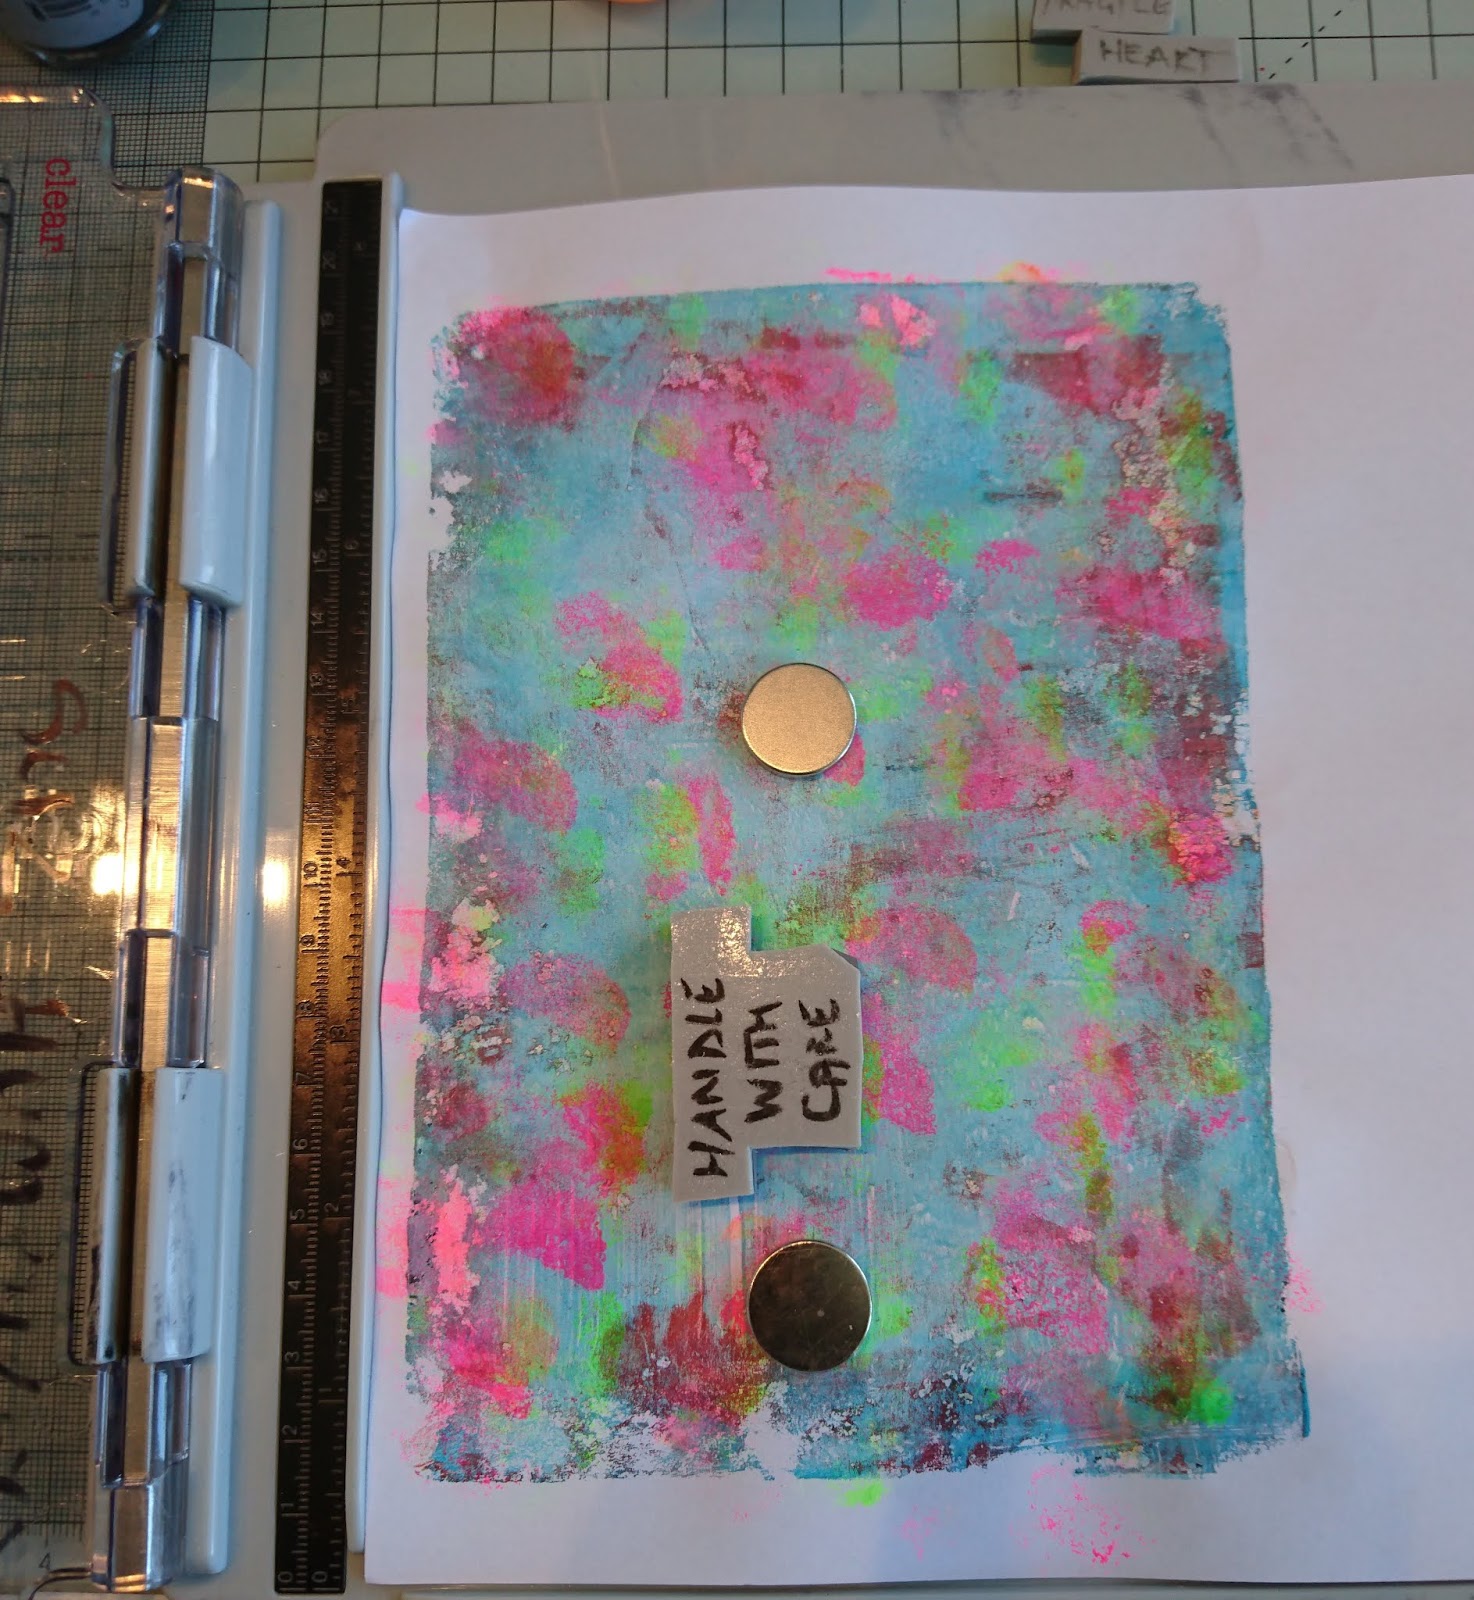
 Pigment inks and white chalk paint to colour both sides of the card.
 Keep layering colours with a brayer until you like the look.
 Once the curtain fabric was dry I stuck on bits of vintage book pages again using diluted 'Quick Grab Glue', then tore the paper back when it had dried.
 Andy's Eye Spy stamp embossed with some cosmic shimmer Viola Black Aurora powder. Loved how it looks so different on the fabric to the paper.Then I added some transfers - YES transfers work on fabric too!!! They are flippin awesome!
 Then I started to play. I used three of Andy's embossing powders to see how they looked over the paints, plus the darker Aurora.The Supa Nova on the far left was my favourite - a granite look, strong, but not overpowering (which the Aurora was for this bit).
 Then some mark making with paints, lids and the side of another card ATC.
 I wanted this book to be reversible, so the back would also be an alternative cover. I had another ATC painted with a mixture of white chalk paint, quinacridone gold and a tiny bit of raw umber which were just clean ups from another project.
 Stamped Skull of Spades, added torn text from book pages...
 a bit of Gold Treasure Gilding Polish, then an embellishment from C E Cogs and Gears set - embossed with Supa Nova
 Then I glued the embellishment over the skull. Always adapt stamps as you need them. And a gem in the middle!
 Then onto the inside. I added LOADS of transfers along one of the sides. Then glued it to the ATC cover.
 On the other side I added text that was all from Andy's 'Create' stamp which I'd stamped onto white card, cut out and stuck down.
  Closer pics of inside...
 Pics of the other side, and all the lush transfers!
  And back to the front.....if you know what I mean, with a few more close ups before all the product info...
Then a very last thing I did....re stamp the Eye Spy sentiment and stick it over the previous one, the smudged word was bugging me! Much happier now. :-)
 I loved playing with this.
Thanks so much for looking. If you'd like to see more of the posts from my fab teamies, or all the direct links to the products which I've listed on my post for Andy's Creative Team, click HERE.
Suz
xxx
Products used:
Pigment paints in colours stated.
Stamps: Eye Spy/ Skull of Spades/ Memories of India/ Create
Embossing powders in colours stated
Transfers from two sets: Ephemera Emporium & French Fancy
Quick Grab Glue
Super Matt Varnish to seal both sides of the concertina insert

Thursday 5 March 2020

Journal Page for the Craft Stamper March Blog Challenge

Hi all
Todays project for the CS blog Challenge is an A4 journal page.
There are 4 pots of Tim Holtz gorgeous Embossing Glaze to be won this month, so why not pop over to the Craft Stamper blog and take a look HERE
Here are a few pics of the process..... 
 To begin, I painted an area with a skintone, then stamped over it. 
I stamped again onto white paper, cut out the eyes and stuck them on top.
 After placing a mask on top of the eye stamp, I repeatedly brayered several fluid acrylics until I had the blend of colours I liked. Then I stamped the smashed glass with Versamark ink and embossed.
 A bit of stencilling.....
Some mark making (paint and the side of a piece of card) 
Doodling with white paint pen, and a black outline smoshed around the eyes. 
I held the page upside down, placed crayons against the page and heated them 
until they melted and ran down the page. 
 Stamped out a sentiment a couple of times (which was the inspiration for the melted crayons), chopped it up and used the pink and green crayons to colour the edges.
 Stuck down the words and used a black Posca Paint Pen to edges them, then with a watery
 brush I softened the black paint. Drew around the stencilled patters with the white pen.
Some stick on ribbon down the sides (bought this from Poundland months ago) and used a 
Stabilo All pencil along both the sides of the crayon section.
 A bit more fiddling with doodles, a couple of butterflies to the sides of the eyes
 (to soften them) and that was that!
Thanks for looking. Not sure how much I like this - but I loved the process. 
Lots of stamping and melting crayons was fun!
Suz
xxx