
This was one of those projects that began as a scrap of card that I couldn't throw away and started to play with - don'tcha just love art!!
So above here is the finished article and below shows the original scrap and tells how it grew from the start.....lots of pics as I was trying to catch the best light to show the amazing colours of the DecoArt Interference paints on the hearts as they change colour!!!
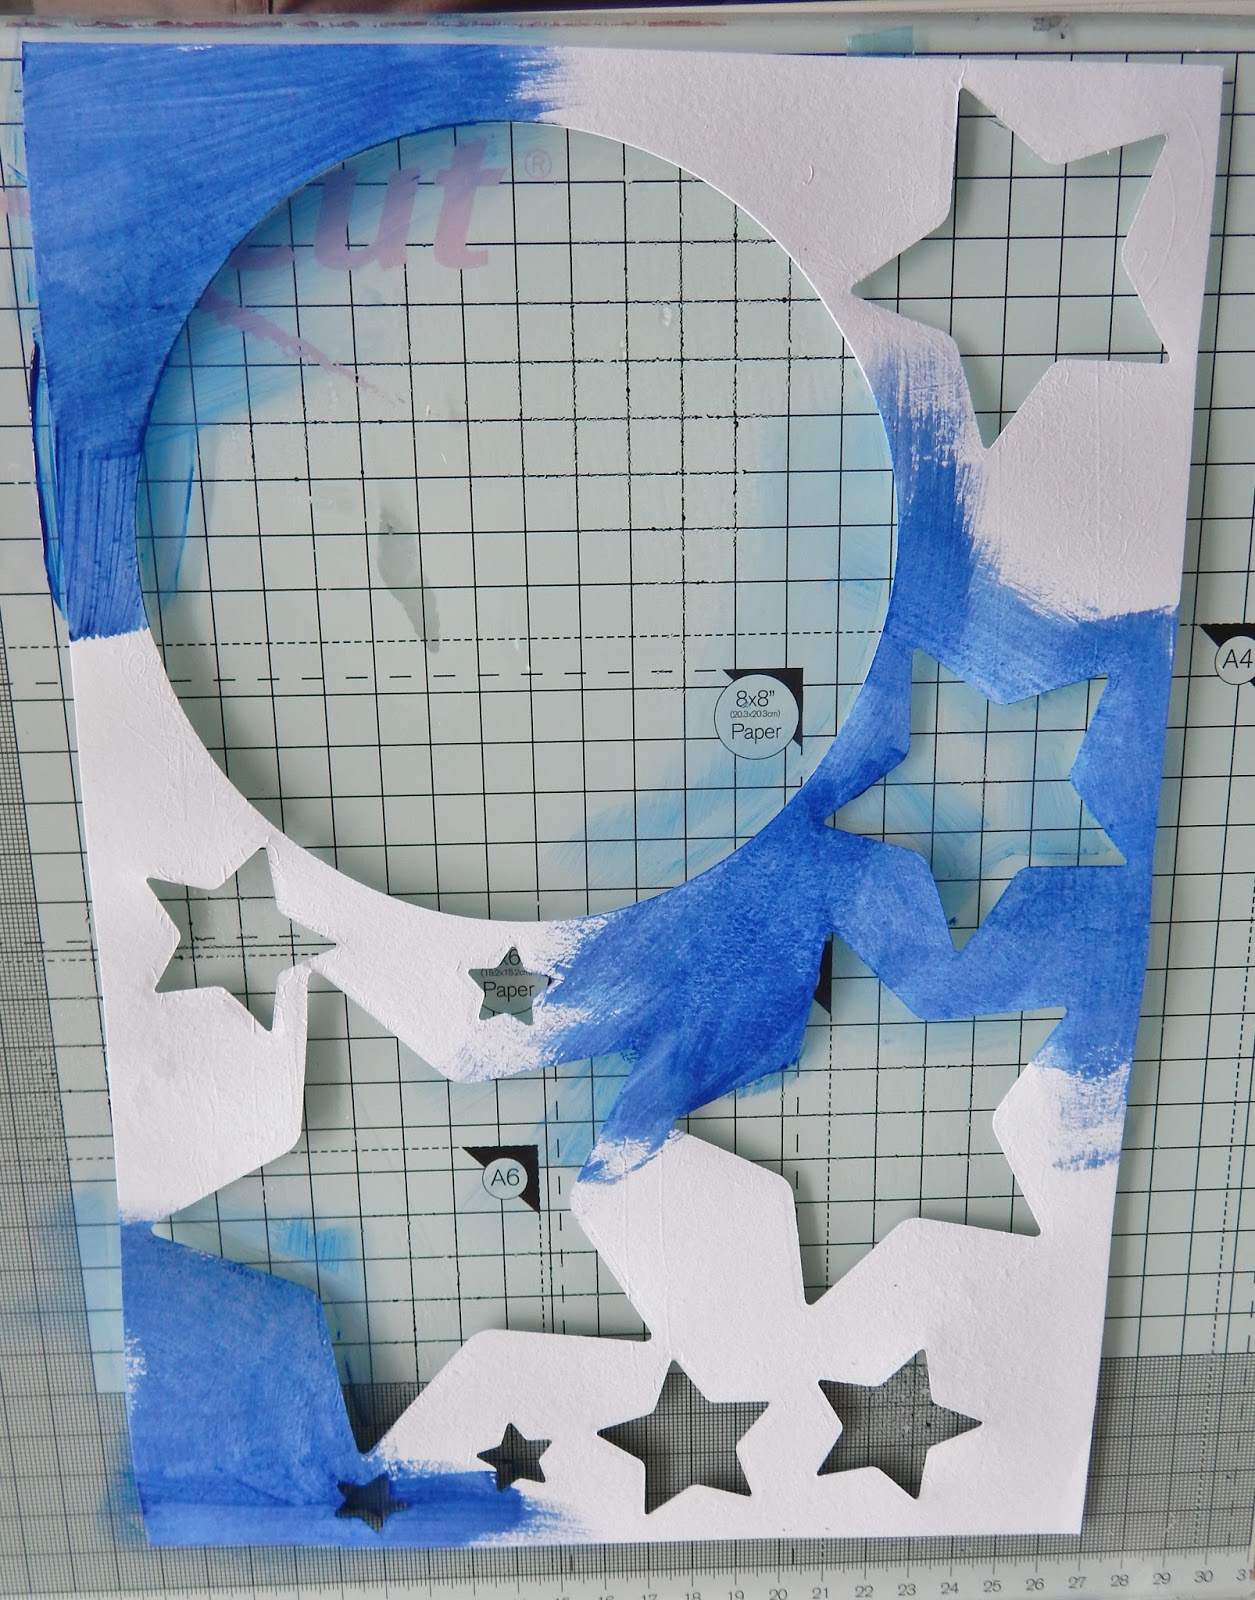
So in the beginning there was this scrap of card with some shapes die cut out of it (used to make a 75th Birthday card for my Dad a couple of weeks ago - pic of finished card at the end of the post).
.

I painted it with three colours of Media Fluid Acrylics
Then I added a layer of crackle paint - in varying thickness to alter the cracks - but put it on a little too thinly in places so the colour underneath didn't show through as I'd wanted!
....so I used Patina Green antiquing cream all over, left for an hour then wiped some off with a baby wipe. Loved it!!!
I also embossed and painted some die cut and punched shapes to use in those spaces..
Painted the star with transparent red iron oxide and primary yellow. Then added gold and silver dry brushing to highlight the embossing. That was fine until I heard some really sad news from my friend which changed how I was feeling and consequently the direction of the project.
I painted over with pink (a mixture of titanium white and red). I then used white antiquing cream. As the paper was very porous I was able to wipe some off straight after applying and still leave enough behind.
.

To decorate the hearts I adapted an idea from one of Andy Skinners YouTube tutorials on using Interference Paints
(to see it click here) but instead of firstly diluting the paint then adding to the DG3 Art Gel, I used a layer of the DecoArt clear liquid glass and then dropped various neat interference paints into the wet liquid. On some I also took a pokey tool and swirled the paints to give a variety of looks. I left these to dry overnight. The interference colours look very different depending on the colour that was underneath them. With silver underneath they look like Mother of Pearl; on top of bright red they each pop - love em!
I took a piece of A4 blue card and journaled my thoughts over it in white pen. Doing this always helps me clear my head. Then I spritzed it with a little bit of blue (primary cyan) and then white DecoArt Misters to hide the words I'd written, thought I didn't do it that well so have not included the close up of the background.
.

It needed 'something more' so I used the Andy Skinner snake skin (Shedded) stencil with my original blue paints and also an Americana Pixelated stencil with titanium white fluid acrylics. I also used some of the left over blue paint to go around each of the apertures to add depth to the cut out shapes. Next step was to layer up the die cut card onto the journaled background with some 3D foam tape to leave a nice gap underneath.
At that point I could have left it but ended up drawing around the apertures with a white paint marker....not sure if I prefer it before or after so guess it doesn't matter!
The following morning I added in the stars hearts and wings. Then I typed up a few words, inked around them and added them too.
Here are more pics of the interference paints....I'll be using this technique to make some jewellery I!

Hope you like my project and decide to have a go with some of those amazing media products!
All the Best Suz xx
Oh and here is a pic of my Dad's card, the one that started this all off!


 I turned the stool upside down and painted the legs and underneath of the stool and all sides/ bottom of the box with a coat of DecoArt Americana Chalky Finish Paint in a minty green ('Refreshing') and it's quite a bright colour so I mixed in a little white ('everlasting'). The white paint was a little thicker so I added just a few drops of water to get a buttery consistency that glided on beautifully and the flat 2inch brush was brill for getting into the nooks and crannies!


