Hi all
Here's my latest post for Andy Skinners DT. It was the classic 'happy accident'!
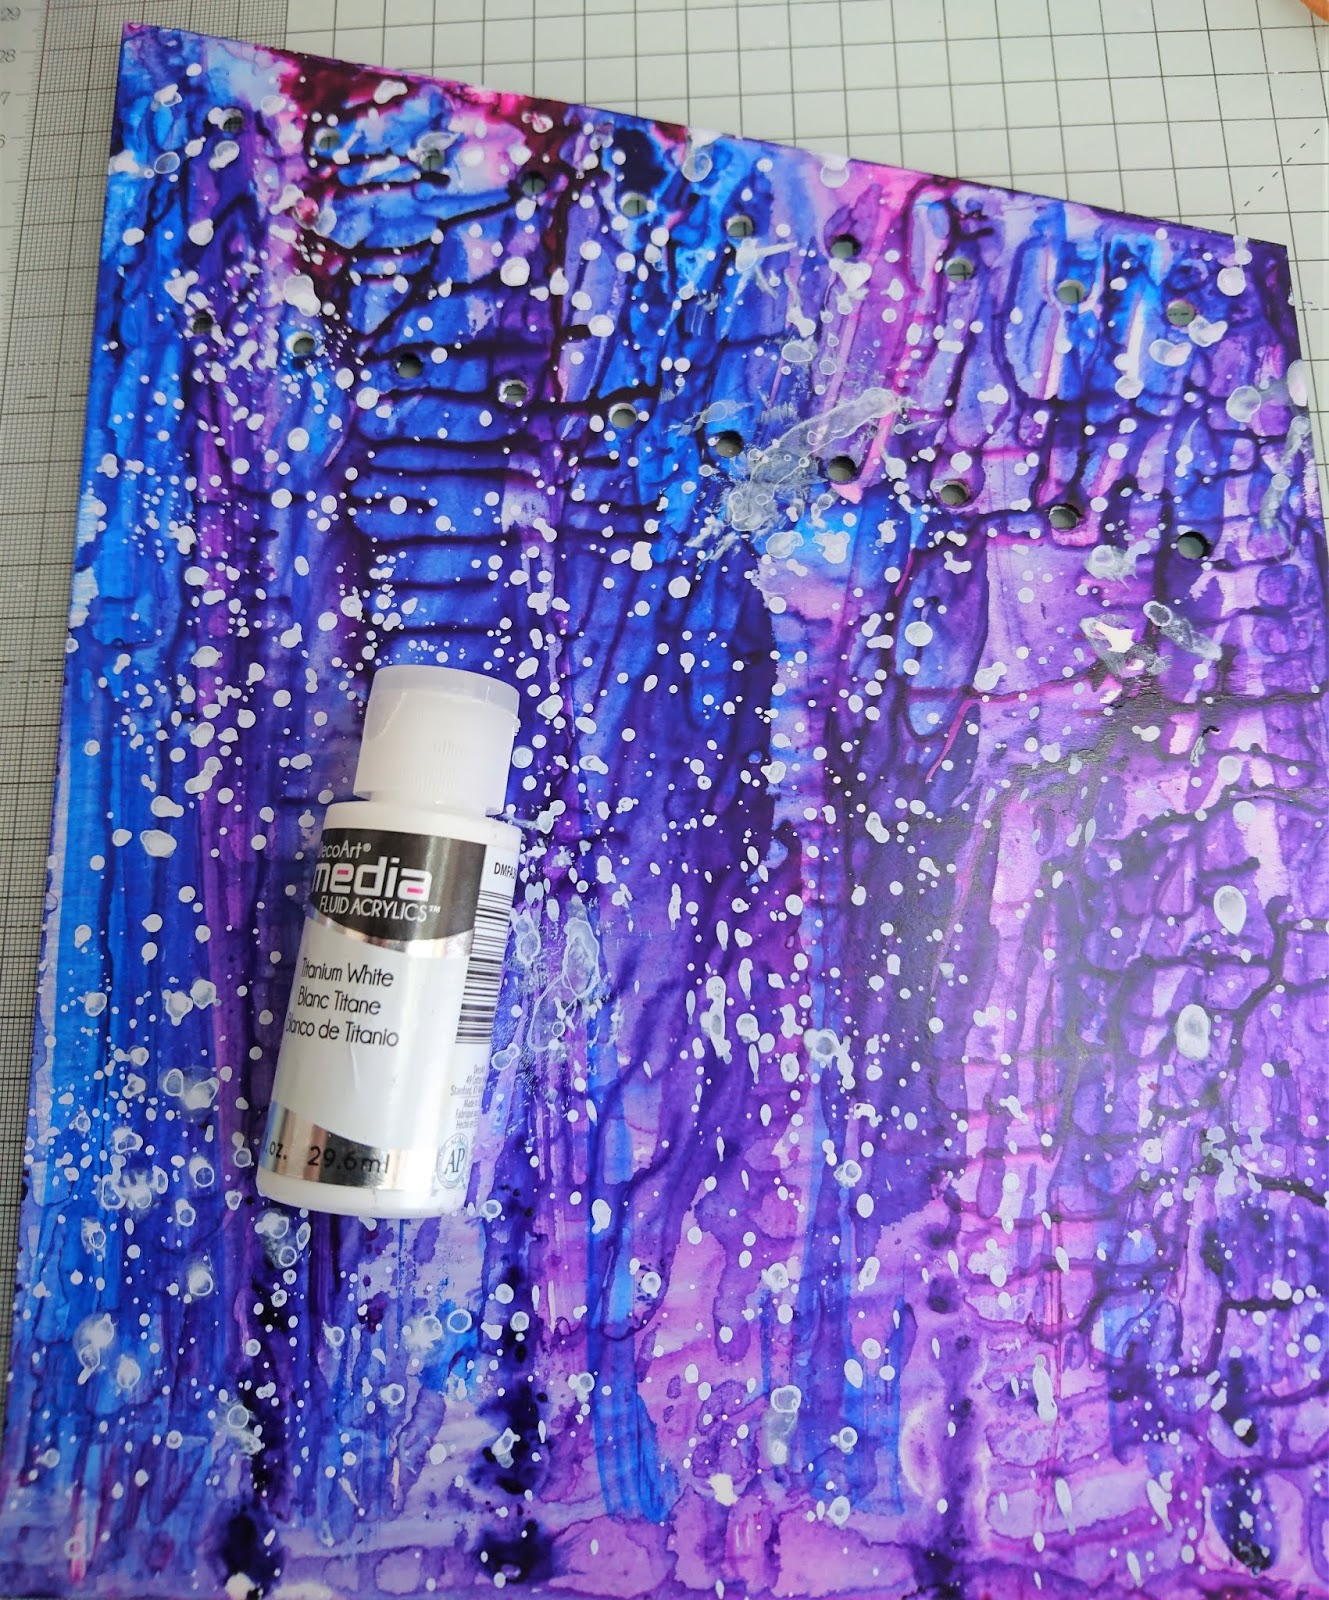
And here's how it started.....
A sheet of Bubbalux Craft board, with hole punches and a diagonal section cut out.....I had started out with a plan, that changed a bit further on!
Blending phthalo blue and quinacridone magenta...
Added dioxazine purple. I spritzed with water, turned spritzed, turned......
Splashes of diluted titanium white.
colour added to the back of the board as you'd see it (in my original idea!).
Stamping with Andy's Tech Trauma stamp set and embossed with a pale blue Stampendous powder...….and then I realised my daft mistake; I HADN'T TAKEN THE PLASTIC COVER OFF THE CRAFT BOARD1111! I realised as some of the paint seemed to be moveing and coming away from it. This meant I would have to peel it off and start all over again! AAAAARRRGGGGG! Lol.
But I loved how it had turned out on that bit of plastic wrap...…..so I zapped it with a heat gun again. And this time, as it was not stuck to the board, I got it to shink and shrivel to add some great texture.....so my plan then completely changed (store previous idea for another time), as this was going to be on my project!
I set aside the hole punched craft sheet (I still have plans for it!!!) and AFTER PEELING OFF THE CLEAR COVER....I painted another sheet of Bubbalux!
From that sheet I die cut 3 feathers, once cut I snipped into the edges a bit more with my Tim Holtz scissors.
Here's the shrunk piece of clear film from the Bubbalux...
It was peeling off in some areas after the shrinking so I gave it a coat of Matt Medium.
The heart is from Andy's greyboard Tagtastic 2 kit, and the clock shape from his Compendium kit, find all Andy's kits
HERE. I used Andy;'s snakeskin stencil 'Shedded' and put black modelling paste through it. Then coats of pyrol red fluid acrylic, wiped some back to expose the black underneath. Separated the heart pieces and edged each with the 24k metallic gold paint, I also just dabbed on bit of the blue and some gold with my finger.
I cut away the part of the bubbalux I'd cut the feathers from and had this rectangle left which was already painted with the blue, I added a little diluted purple, heated and bended over two corners and painted them with 24k Gold Metallic paint. The clock I had painted blue then added gold, dabbed back to dull and added more in places to highlight.
I edged the feathers with the gold too, and a bit of dry brushing with it to pic up the embossing. Added some silver splashes of paint and then some of the Intereference paints which is what has given the feather s that multi coloured look - and a beautiful iridescence which you can't really see!
Silver splashes on bachground board too. I worked out where I wanted the clock and heart to sit and used my 'crop a dile' to punch holes and thread through some rusty wire to hold the clock in place and also the feathers. Good idea to use gardening gloves with the wire as it is a bit rough.....and you guessed it, a bit of gold on the wire too!
Ltttle clock charm also threaded onto the wire, bits stick down with Matt Medium.
Some pics to show the layers.....oh and stamping added as the background needed something!
Love that gold!!!
Words added - 'Broken' fron Andy's word up stamp set...find all Andy's Illusionary Artist Stamps
HERE.
Finally some marks made with a bottle neck in black and the edge of a bit of greyboard in white and words framed with a micron....and here you can see the green intereference paint on the left, over some text stamping (another stamp from Tech Trauma set.


