Hi all
Here is a little step - by step of how I made these two fun, Christmas Mitten cards for recent classes.
Die cut 4 mittens, using this Sizzix Bigz die. Use thick cardstock if painting, like we will be.
Mask off the cuff, and paint using DecoArt Pyrol Red acrylic paint.
Add glue across the base of the mittens.
Die cut the zig-zags (also on the sizzix die) in green and white card. Stick them onto the mitten. I started with the middle zig-zag first.
Cut off the excess zig zag strips to use on the other mitten, which will sit underneath this one.
Do not attach at this stage, but take the second mitten, which will layer behind, marry up the cuffs and then twist the finger sections so they fan slightly out with just a little of the bottom mitten showing. Add glue and used the pieces left from the top mitten to decorate in a similar position.
Only this much of you mitten will show from below. Don't worry about the inside edges of the zig-zag as they will be hidden, but cut off the extra that overhangs on the outside.
Your two mittens will look something like this.....
Add glue to the bottom mitten.
and stick the top one onto it, again ALMOST lining up the cuffs.Wrap twin around the two cuffs, starting and ending at the front, so you can tie a know and leave enough twine to hang down for your pompoms.
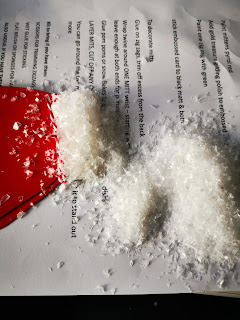
For the faux snow, add a generous amount of strong, dries clear glue (like Cosmic Shimmer) all over the cuffs and two punched circles (I used a 20mm punch) which will be the pom-poms on this one. Sprinkle on the faux snow and press down into the glue.
This is the punch, glue and faux snow I used.
For the two background layers, I die cut a layer of white and a slightly larger layer of black using Creative Expressions dies. I then embossed the white layer.
This was the very old Sizzix embossing folder I used.
Over the top of the embossed card, I swiped
Treasure Gold Metallic Gilding Polish from Creative Expressions.
Last step is the layering up. Add the black card, then gold to a 5x7 card blank.
Then stick down the mittens.You may prefer to use 3D foam tape as the twine adds depth and will raise the cuffs up on the card.
To make the card with the pom-pom balls, instead of adding faux snow to the cuff, add the three pop-poms (see photo). Then add two more at the end of the twine - you don't need the circles of this one.


