My little crafting world....


Hi all
I'm a complete craft addict! I have a small business called Surrey Crafts teaching craft workshops from my studio in Esher, Surrey and at venues around the country. I teach mixed media, decorative painting, card making and papercrafts, jewellery making and creative embroidery classes. If you'd like to find out more just leave a comment, or take a look at my other social media pages:
Facebook: https://www.facebook.com/surrey.crafts
Instagram: https://www.instagram.com/surreycrafts/
Pinterest: https://www.pinterest.co.uk/surreycrafts/
Crafty hugs & stuff
Suz

xx

Sunday, 28 December 2014

Tree treat boxes

Made these little tree treat boxes as gifts for my workshop ladies. I designed the boxes so the lids could slide up wire so that I could pop a treat in them.. Bit fiddly as I'd decided to use jewellery wire and beads as a decoration on the mechanism, but this did mean they could hang from a tree. I thought the fiddliness was worth it as they did look lovely, if I had been making less of them I'd have added even more beads! I didn't take step by steps so I've made a tutorial with pics below.

You can make these boxes any size.
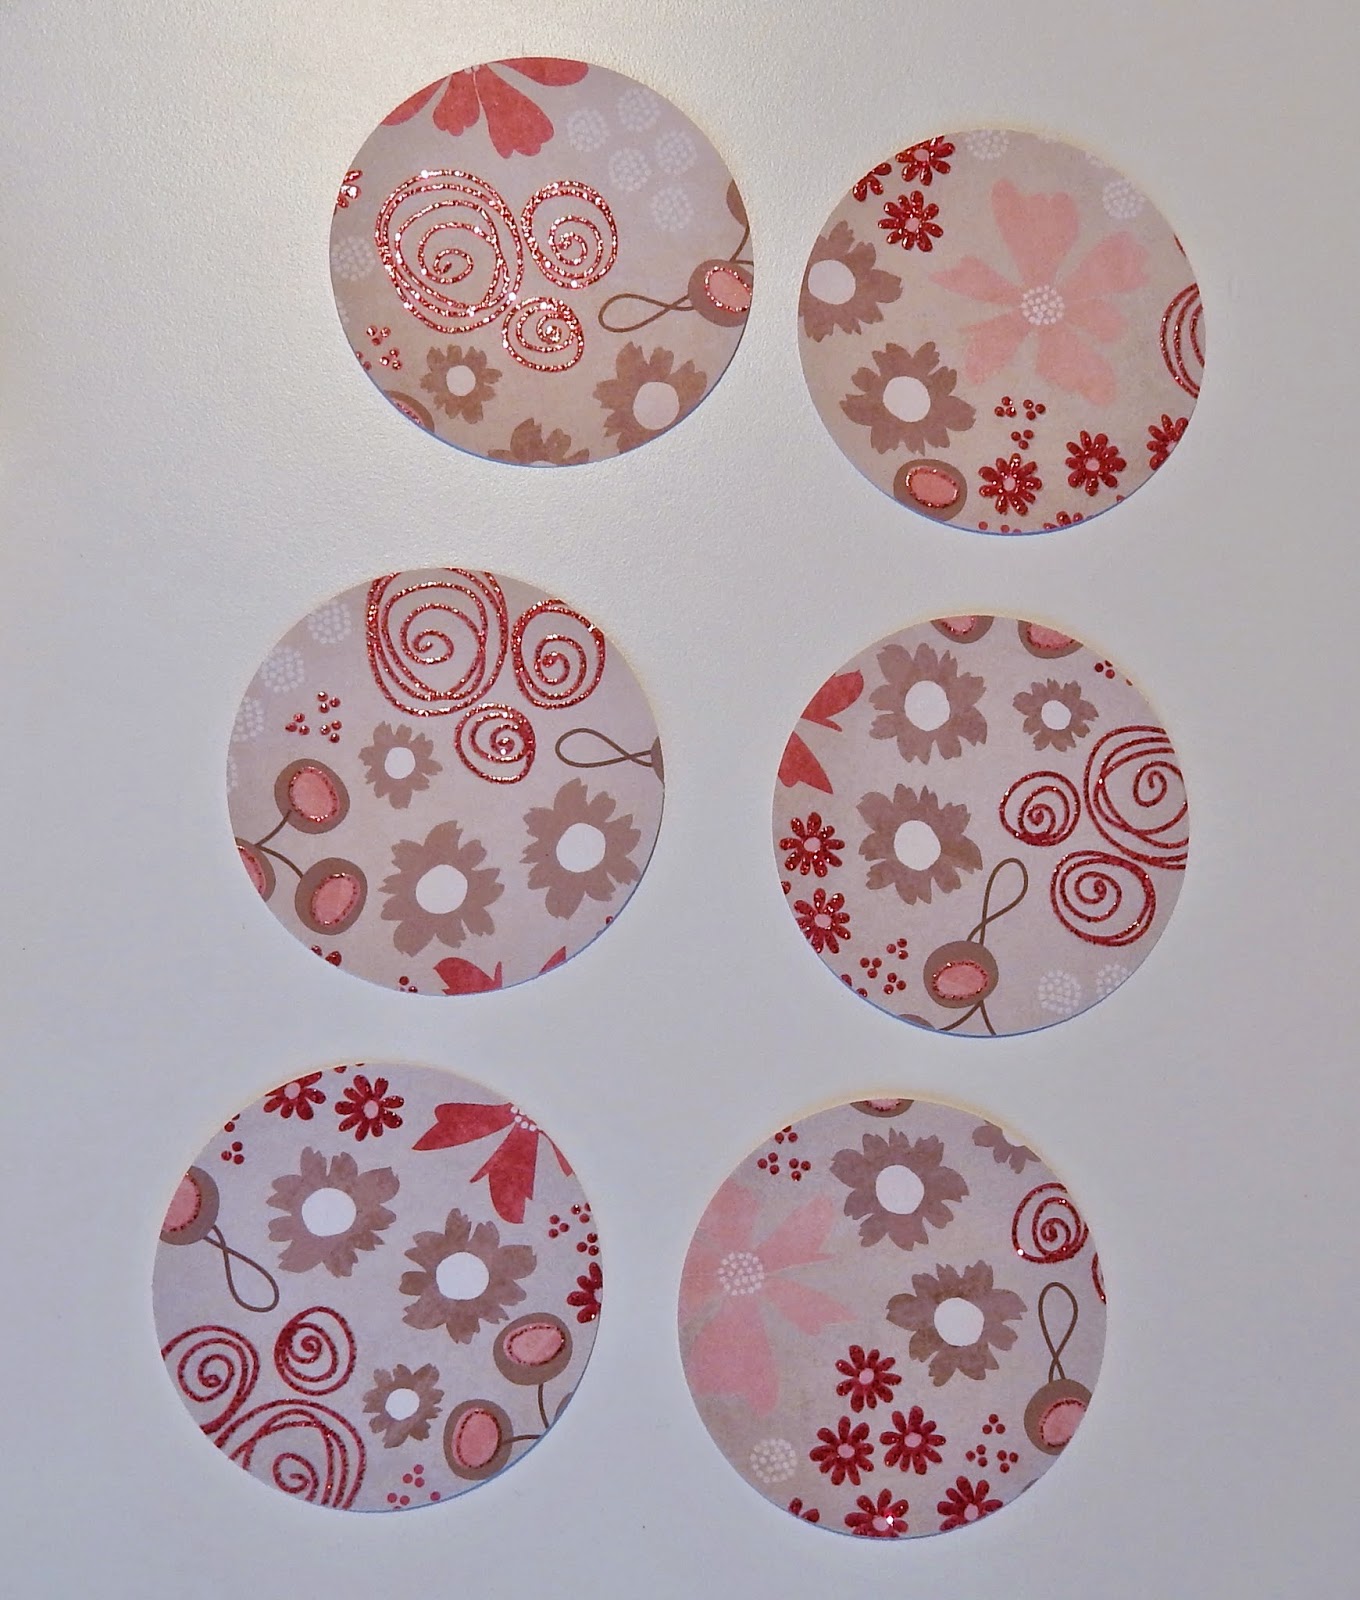
1. Punch 6 circles out of lovely papers,....

....then another from scrap. Fold the scrap circle in half one way then the opposite way. Draw a line from the ends of two lines and cut a square this size to fold your circle over.

 If you want to make the inside circle defined, then fold the circles TOWARDS you over the squares, that makes them really easy to run the ink over with a blending tool or ink pad.
If you are not inking then fold the opposite way.
 I find it helps to decide which circle will be the top and I use the least blingy circle for the bottom. I line them up and then take two at a time in the order they will stick and punch a hole through for the wire.
I use a glue stick for speed, and as I use paper that is strong enough. I stick the bottom and sides so that the punched holes line up - but not the top as this runs free up and down the wire (see main image above).
 Then I glue the two other sides which don't need holes.
 This is a pick of the bottom, with all sides and bottom glued

And this pic is with the box upright and just needing the wire, beads and lid added.
 I put the lid in place, thread jewellery wire through from the top, down each of the two sides, adding the beads before threading through the final hole at the bottom and back up twisting the wire to secure (have a look at the main pic). Then the lid will slide up and down the wire so make sure the wire is long enough for a generous handle - this also means it can be hung from a tree or other decorative object if yo u wish! PLEASE IGNORE THE PIECE OF PAPER WITH "BOTTOM" WRITTEN ON IT¬  as that relates to previous steps. 
Voila! Have fun, Suz xxx

Tuesday, 9 December 2014

Mini Christmas Pud card

Here's the cute mini card I made for my lovely workshop ladies. 
Great card when you need to make lots. Here's how and products used:
Mini white card blank. Cut gold card 1cm smaller than the card. Then a red square 1cm smaller than the gold. Punch a 1inch circlefrom brown card. add white to the top (I used a white corrector pen as they were cheap and gave good, quick opaque coverage). Punch a holly shape from green card and add gems or stickles glue (I used stickles as quicker, but go lightly). Stamp the base that sits under the pud, I used one from the spellbinders set that I got free with a mag. Then stamp the greeting. I used on from a fav Christmas set by JoFy. Draw lines with shapes using a micron pen and colour in with a white pen or the corrector pen. Then glue the brown circle and add the holly and berry shape. Voilla! Have a go, it's easy! Suz xxx

Monday, 8 December 2014

Poinsettia Tree decoration

Here's a Christmas Bauble I made using the Oak House Studio Poinsettia and Winter Words stamps.

I painted the wooden shape with white Gesso and once dry I inked the whole thing withVersamark then heat embossed with Stampendous Aged Aqua embossing enamel ( had this for years but never know what to use this for before!!). I then stamped the Winter Words across the whole thing with Valentine Pigment ink (also from OHS). I stamped the poinsettia twice onto red card and once onto green, cut out and layered them up, glued them onto the bauble and added Stickles glitter around the shape and leaves and some seed beads to the centre of the flower. Then a bit of ribbon and a bow and voilla! Have fun with your baubles! Suz xxx

Saturday, 15 November 2014

Winter wishes diamond pattern card

Hi all

Here is a simple card I made using the beautiful decorative diamond stamp. I love the shape and pattern, very stylish and Art Deco looking to me, but I wanted to use it in a different way.


So I inked up a piece of glossy paper using the OHS French Mint Spray ink, dabbing some away to leave some lighter areas of interest. Once dry I stamped the diamond using an Archival ink in a circular motion laying each side together, sometimes overlapping a little. Then I went around the square with a black marker pen, layered the card onto a complementary piece of coloured card from the Paper Mill, then onto a square white card blank. I then just stamped the lovely text and added a few gems - one in the center, and others elsewhere to tie it together.

Wednesday, 29 October 2014

Mens Winter Tag

So here is a colourful mens tag which I still managed to squeeze a little glitter and jingle onto!


I stamped the image onto a plain tag putting both Spring Green and Cobalt Blue on the stamp to give a colour graduation - a nice idea from the Craft Stamper Challenge - then embossed using Crystal Sparkle embossing powder for a snowy sparkle. I stamped and embossed twice more onto white paper and coloured all the leaves in with watercolour paints and cut them out. 


I used spray inks on the background between the embossed images the applied some Cobalt Blue pigment ink with my fingers to give more depth then heat set.  Once I was happy with the background colour I added the gold fence along the bottom, and placed the ribbons on top then started to layer up the decoupaged Ivy. 
I stamped and embossed a lovely sentiment using the Valentine red pigment ink pad on a die cut cream circle, then layered over the top of this with a gold die cut normally used as a watch frame. Finally I added more ribbon and bells to the hole in the top. 
Products used from Oak House Studio:  
Have fun. Suz xxx


Tuesday, 28 October 2014

Upcycled beer mat

As you've probably noticed, I do enjoy taking something you might otherwise throw away and playing around with it. So here is an old cardboard beer mat I aquired which I've made into a coaster for my craft table.
I gave the beer mat a coat of Gesso to completely cover the advert underneath and used a narrow decorating paint brush to give the paint texture and make obvious brush marks. Once dry I sprayed with French Mint spray ink from Oak House Studio and let it run into the brush marks of the Gesso and dabbed some away with paper towel to leave white patches. I then used the Squares Border Stamp to create a frame around the coaster with Cobalt Blue pigment ink embossed with clear powder and wrote some words inside the squares which I coloured in with a white pen. I then cut two hearts out, one from scrap white card and another slightly smaller from a magazine page.  Magazine pages tend to be stronger then newspaper and you still see the text clearly after spraying (so make sure you read what the text says!!!). I sprayed both hearts with a mixture of French Mint and Spode Blue spray inks and because they are different papers the colour 'takes' differently, giving a nice variance. I layered the hearts up and stuck them onto the mat using a glue stick as they are thin paper. Once dry I drew around the heart with a black charcoal pencil and smudged it in to give some depth I stamped the border again onto a white card scrap and wrote inside the squares, cut out each square and stuck them onto the heart. 
Just a bit of fun, but I love the colours and textures. I will spray the mat with a clear varnish so that I can put a hot drink on it without damaging it, didn't do this before the pic as it creates glare. 
Have fun with your projects. Suz xxx

Saturday, 11 October 2014

Oak House Studio October One Stamp!

Hi all
The first time I heard about this challenge I thought it was a fab idea; how many ways can you use just one stamp! Here are a couple of my ideas. Hope you like them:

Make an acetate box lid
For this project I took an old jewellery box and just made a new lid using heat resistant acetate. I stamped the Christmas Corner image with Versamark ink and heat embossed using Copper Detail embossing powder from OHS. I then used glass paints on the back so that I didn't need to worry about going over the edges too much. Once dried I then went over the back of the glass paint just on the flowers with DecoArt Americana white acrylic paint so it was less transparent. On the front I added some glitter glue and gems. Once it was all dry (I'd put the glitter glue on so thickly it took ages!) I made up the box using super sticky double sided tape. To hide this and finish off the lid I added some pretty lace all around the sides of the box with wet glue.
Original box -
I used the lid as my base as it had a ribbon
 to hang from the tree, plus
 it was a lovely colour and better shape.

For the second project I decorated a cheap candle which came in a pack of 3 from the 99p shop - great stocking filler!I stamped onto tissue paper from used packaging with an archival ink pad - I'll try a pigment ink next time. I cut out the image, laid it onto the candle, took the waxy bag from inside a cereal packet, placed the candle inside it (after cleaning out any crumbs!!) and wrapped it tightly around the candle to hold the image in place (holding the excess waxy paper at the back of the candle).  This means you can see the image and how it is reacting to the heat. Then just use a heat tool and move it across the image until the tissue paper disappears into the candle - careful not to overheat any areas as this will distort the shape of the candle.