Hi all!
My project for the December Craft Stamper Blog Challenge is this Festive Wooden Forest
made from scraps of wood and a few basic craft supplies! There are some fab prizes to be one and the chance to be featured on the blog. Have a look here.
You probably know by now that I LOVE upcycling! So when hubby and I decided to give our old wooden furniture a make-over, we ended up with a few spare bits of wood which I HAD to find a use for. So this project is made with the feet and drawer front of a very old sideboard. All because the feet, when turned upside down, looked to me like trees.....so here's what I did with them.

We chopped off the 'feet' of the sideboard after painting the legs white so they had a bit of paint on them already, but not all over. I painted over the whole piece with DecoArt Chalky Finish paint in a gorgeous green called Enchanted and after two coats they were fully covered and even.
A wipe over with an anti static pad, then clear ink and stamp at the ready!
Heat embossed using a lush gold glitter embossing powder by WOW for a bit of bling!
Here are all the wooden bits I ended up using.
After painting the feet, I added gems all the way around.
I needed toppers for the trees, so out came some gold jewellery wire and flat nose pliers!
About 12 twists of the wire using the pliers as my mark.....
I cut the wire from the reel, then bought the two ends together and tweaked the shape to form a star.Then I had to work out how to add the starts to the tree tops. Got out my mini drill and put a hole in the top of each trees that was deep enough and wide enough for the two ends of the wired star to plus another section piece of wire that I wanted to wrap around the tree.
Gave the cut out section of the wooden drawer front two coats of chalky finish in white (Everlasting). There was a split at the front but that just gave me somewhere to stick a sign! A generous coat of Matt Medium then lots of snowy stuff sprinkled on and patted down into the wet medium.
To make the little sign, I stamped and embossed white card with Clarity
sentiments and gold embossing powder.
I cut out the embossed words and added them to a rectangle of white card,
matted with red card, then stick that on a section of a coffee stirrer and popped into the gap. To finish off I used a piece of Christmas ribbon to edge the front of the wooden base
to add a little more colour.
 This is where the base section was cut from.....following the drawer handle. Needed this cut out so the remotes would still work with the DVD and boxes (clever hubby!).
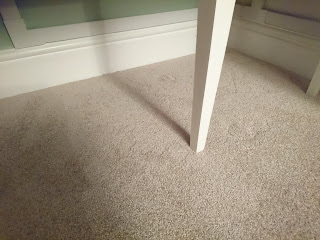
And here is one of the legs minus the 'foot' which is now a tree!
And here are 5 of the 6 'feet' and the front of the drawer, made into a cheap, fun,
upcycled home décor piece!
I hope you like this fun piece. Thanks very much for looking and good luck with your entry to the competition which, as usual, has some lovely prizes for the winners! x


awesome up cycling, it makes me want to pull out a saw and a drill :)
ReplyDelete