Here's my latest DT post for Andy Skinner check out his blog here! I really enjoyed having a play with this Bubbalux stuff - it takes paint really well and even die cuts using Sizzix Bigz dies, (take the plastic sheet off of it first, and best to use a sturdy machine). Plus it bends when heated so that could be useful!
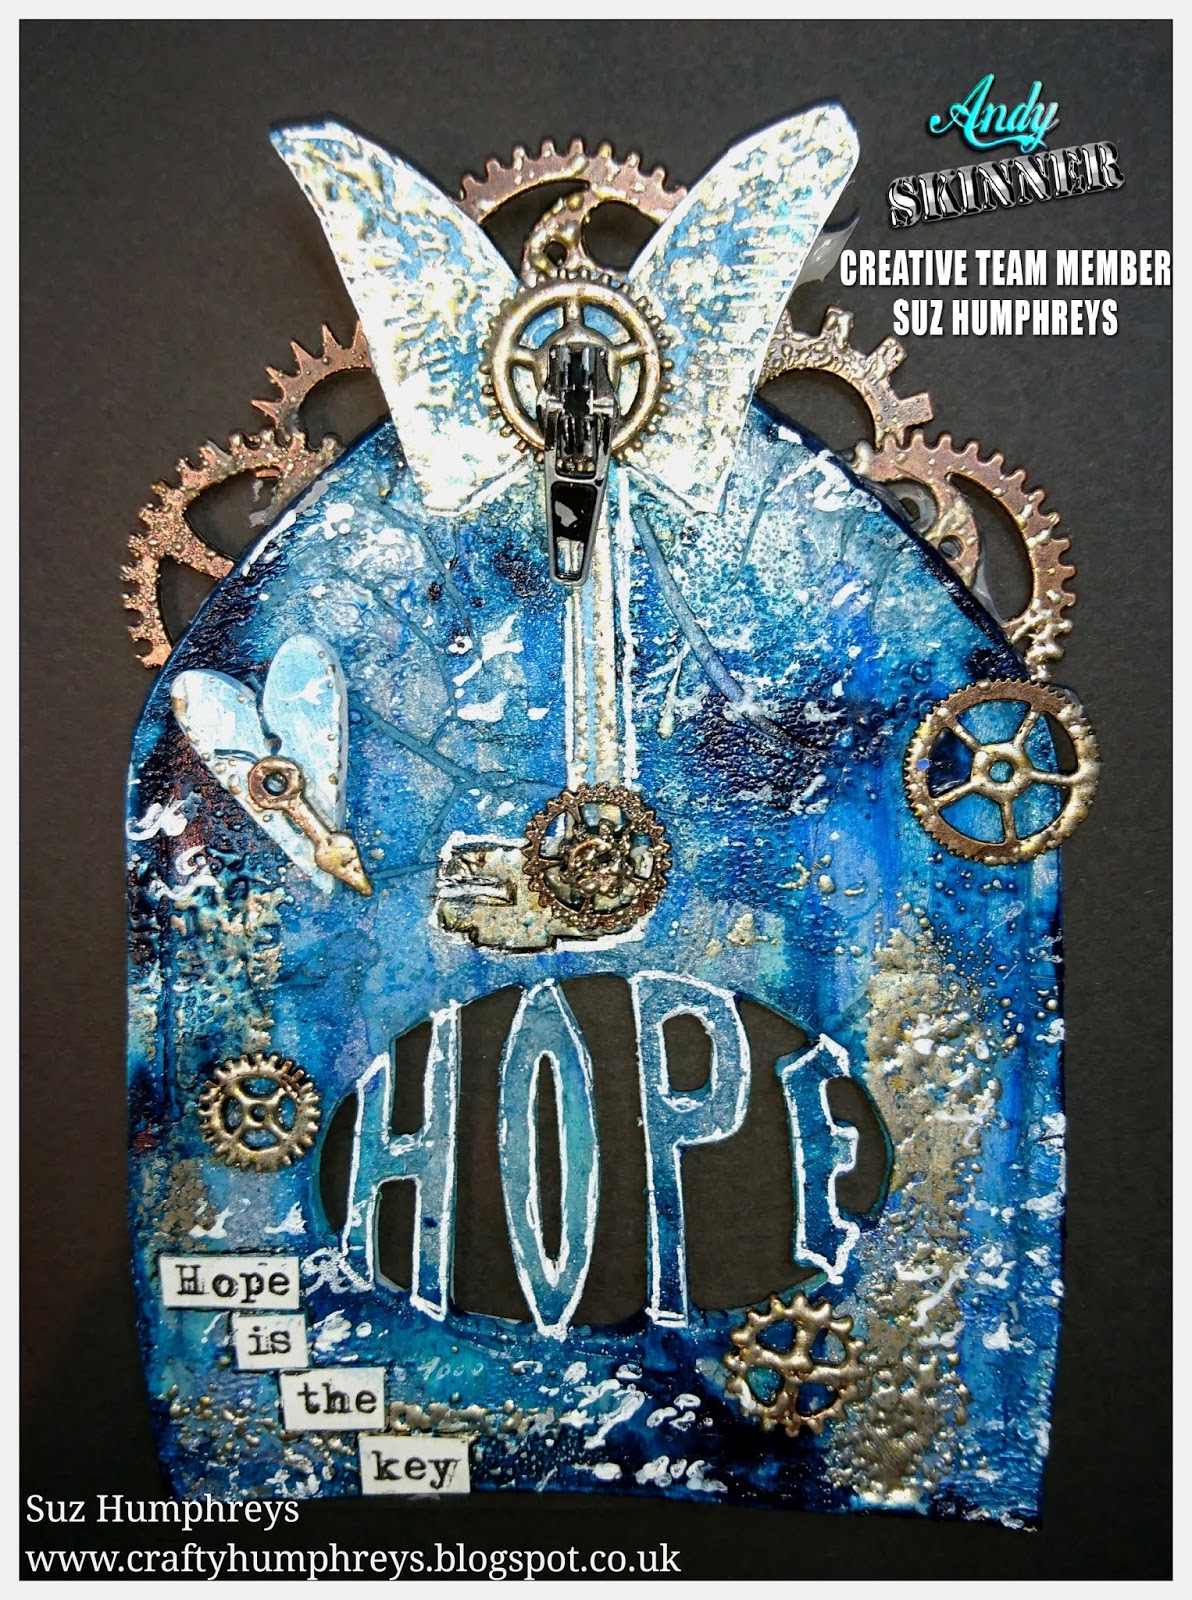
I cut a piece of the Bubbalux so it would just fit through my Big Shot machine over the Sizzix Bigz Arch Die - you MUST peel off the film before doing this as it makes it tough for the die cutting machine to cut through if you done. After cutting the arch I then ran it through again with the Bigz Hope word die.
I used Media Fluid Acrylics to paint the board. First the Cobalt Teal Hue, followed by the other blues, then a layer of Media Line Crackle Glaze.
Once the glaze was dry I painted on Patina Antiquing Cream.
Once dry I wiped a lot of it back and layered up more paints. I randomly swiped over a clear Versamark ink pad, then added Stampendous Aged Silver embossing enamel powder. While I was heat embossing the Bubbalux warped a bit like shrink plastic but without shrinking(that could be useful!)I flattened it out with an acrylic stamping block but it did change shape slightly which I really liked!
I stamped the text onto the arch using white paint, stamped the winged key onto the panel too. But the key didn't show up too much so I stamped it again onto card, cut it out, coloured with the paints and glued it on. Then I chose some embellies to decorate the arch - teensy metal cogs and clock hand, an old zip, a button which I added string to then I painted it with the cobalt teal hue. I then added the cog and zip to the centre of the winged key and another at the base.
Before gluing then on, I used the same Versamark ink pad and Stampendous enamels on the cogs.
 Layered the cogs behind and on top of the arch, lastly I added highlights with a white Posca Paint Pen.
Last of all I added a piece of black card behind
to make the words pop.
That's it! Thanks for looking. Suz xxx
Here are the products I used.....


This substrate looks great fun - great project - yummy arch xx
ReplyDeleteThanks so much Carol, it's interesting stuff....going to play a lot more to see what else it can handle! :-) xxx
Delete