I really enjoyed making this, and love the feature stamp from Andy's
Tech Trauma stamp set.
Here are a few close ups to show the bling a bit better, and a step by step of how I made this piece.
Love the texture in it!
It sparkles!
I built up lots of layers with background stamps. Different elements show up in different lights and at different angles. Here is the process.
Brayer on a generous layer of DecoArt Media Gesso. This give a lovely texture for the layers of media fluid acrylics that will go on top. While still wet, add drops of Primary Cyan and brayer again.
Repeat with Prussian Blue Hue.
Then Metallic Silver
Titanium White
Build more depth by repeating some colours.
Add some Interference Blue for a bit of tonal opalescent colour change (depending on light reflection) shimmer.
Continue layering more colours until you are happy with the background.
I decided to do a bit of background stamping with some of the Tech Trauma stamps.
Ink up and stamp away!
Once all completely dry, use an anti static pad then a clear embossing ink where you would like your feature embossing. Before I added the clear ink I cut the card to be square rather than rectangle.
Sprinkle Shabby Blue Frantage powder onto the clear ink and heat emboss.
Then repeat with Royal Blue...
For the final layer, prepare your feature stamp by inking it up with black Archival ink, repeat the embossing with the Halo and stamp firmly into it with the stamp while it is still molten. I hadn't let the card dry completely before the embossing so it did buckle a bit, but was once I had let it rest, and had flattened it out for a few hours with heavy books.
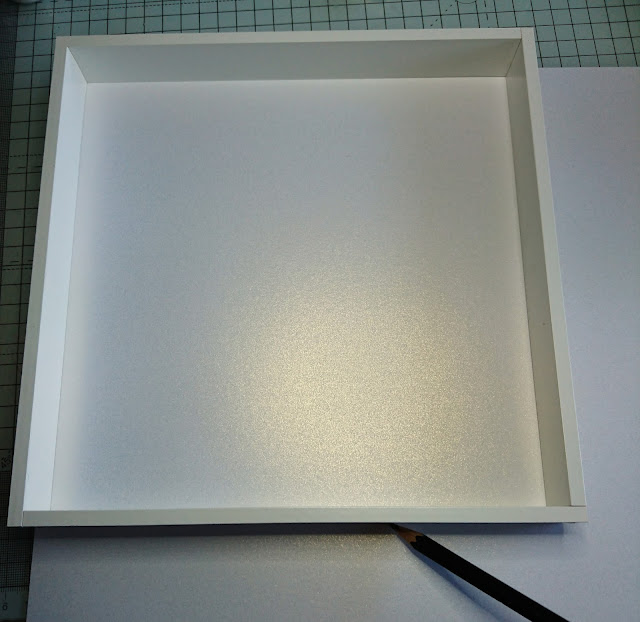
The frame I bought for this project had a mount already in it, but the aperture was way too small so I made another. I marked the size of the whole frame onto some 300gsm pearlised card.
The artwork I wanted to frame was 19 x 19 cms
So taking away the size of the artwork from the size of the frame, devide by 2 to give you the size of the border, just over 2cms
Check your measurements BEFORE cutting out the aperture in the middle!
Once you've checked cut out the middle.
Making a hole at the intersection of each corner really helps with getting a neat cut from edge to edge.
I used a steel edged ruler and a craft knife wit a fresh glade.
Lined the artwork up on the back of the mount and taped it down with masking tape
Now it's ready to put in the frame, peel the protective backing off the Perspex of the frame. I wipe the mat I'm working with and the frame with an anti static pad, otherwise static attracts bits of dust and dirt to it!


This is INCREDIBLE! It's like an intergalactic adventure. Bursting with impact! WOW. Just WOW?!
ReplyDelete