

Hi again all!
Another quick post to share a super easy technique for painting flowers. This came about from a journal page I made for a lovely journal group on Facebook called Embrace Your Art by Tiare Smith Woods (love her work, click on her name to see her blog) and her prompt was about using a straw to blow paints. Well I had a play and it kind of evolved into a completely new technique for me. I created a journal page (second pic) and posted it on Facebook. Then I was asked to do a blog post to show the process, so this is the original journal page, but as I hadn't taken pictures of the process (again!!) I created another little artpiece (single rose above) just to show how easy it is and how it's done.
All you need is a surface (arty peeps call it a substrate) and for that I broke into my new mini ring binder and used one of the grey board pages inside. This is by Tando Creative click HERE for details.
 |
| Cover surface with white gesso |

Add just a TINY number of paint drops - I used about 3 drops of the Quiacridone MagentaDecoArt Fluid Acrylic paint and got a generous sized flower.
Spritz over the top lightly with water.
Blow paint around with a straw into a pool of paint similar to the on below - don't try and be precise, just work with it using the shape to dictate which direction your flower will face.

Then simpley smoosh the paint with one finger in a swirl.

Repeat this motion from left to right, then right to left working your way down, and back up to if you want to, to create a very simple flower effect.

Top tip 1- you get a much better effect if you do this while the gesso is still wet, and the harder you press with your finger, the more gesso will come through - and it's that which creates the contrast and white highlights. Done!!!
Top Tip 2 - if you feel the flower has become a little too big or 'out of control' you can go back around it with white gesso to shape it as you like. this is what I did on the journal page as the blobs of paint had spread too far with the straw. Worked a treat!
So now I'll enter this into Andy Skinners challenge 'bold and bright" on his blog.
So now I'll enter this into Andy Skinners challenge 'bold and bright" on his blog.

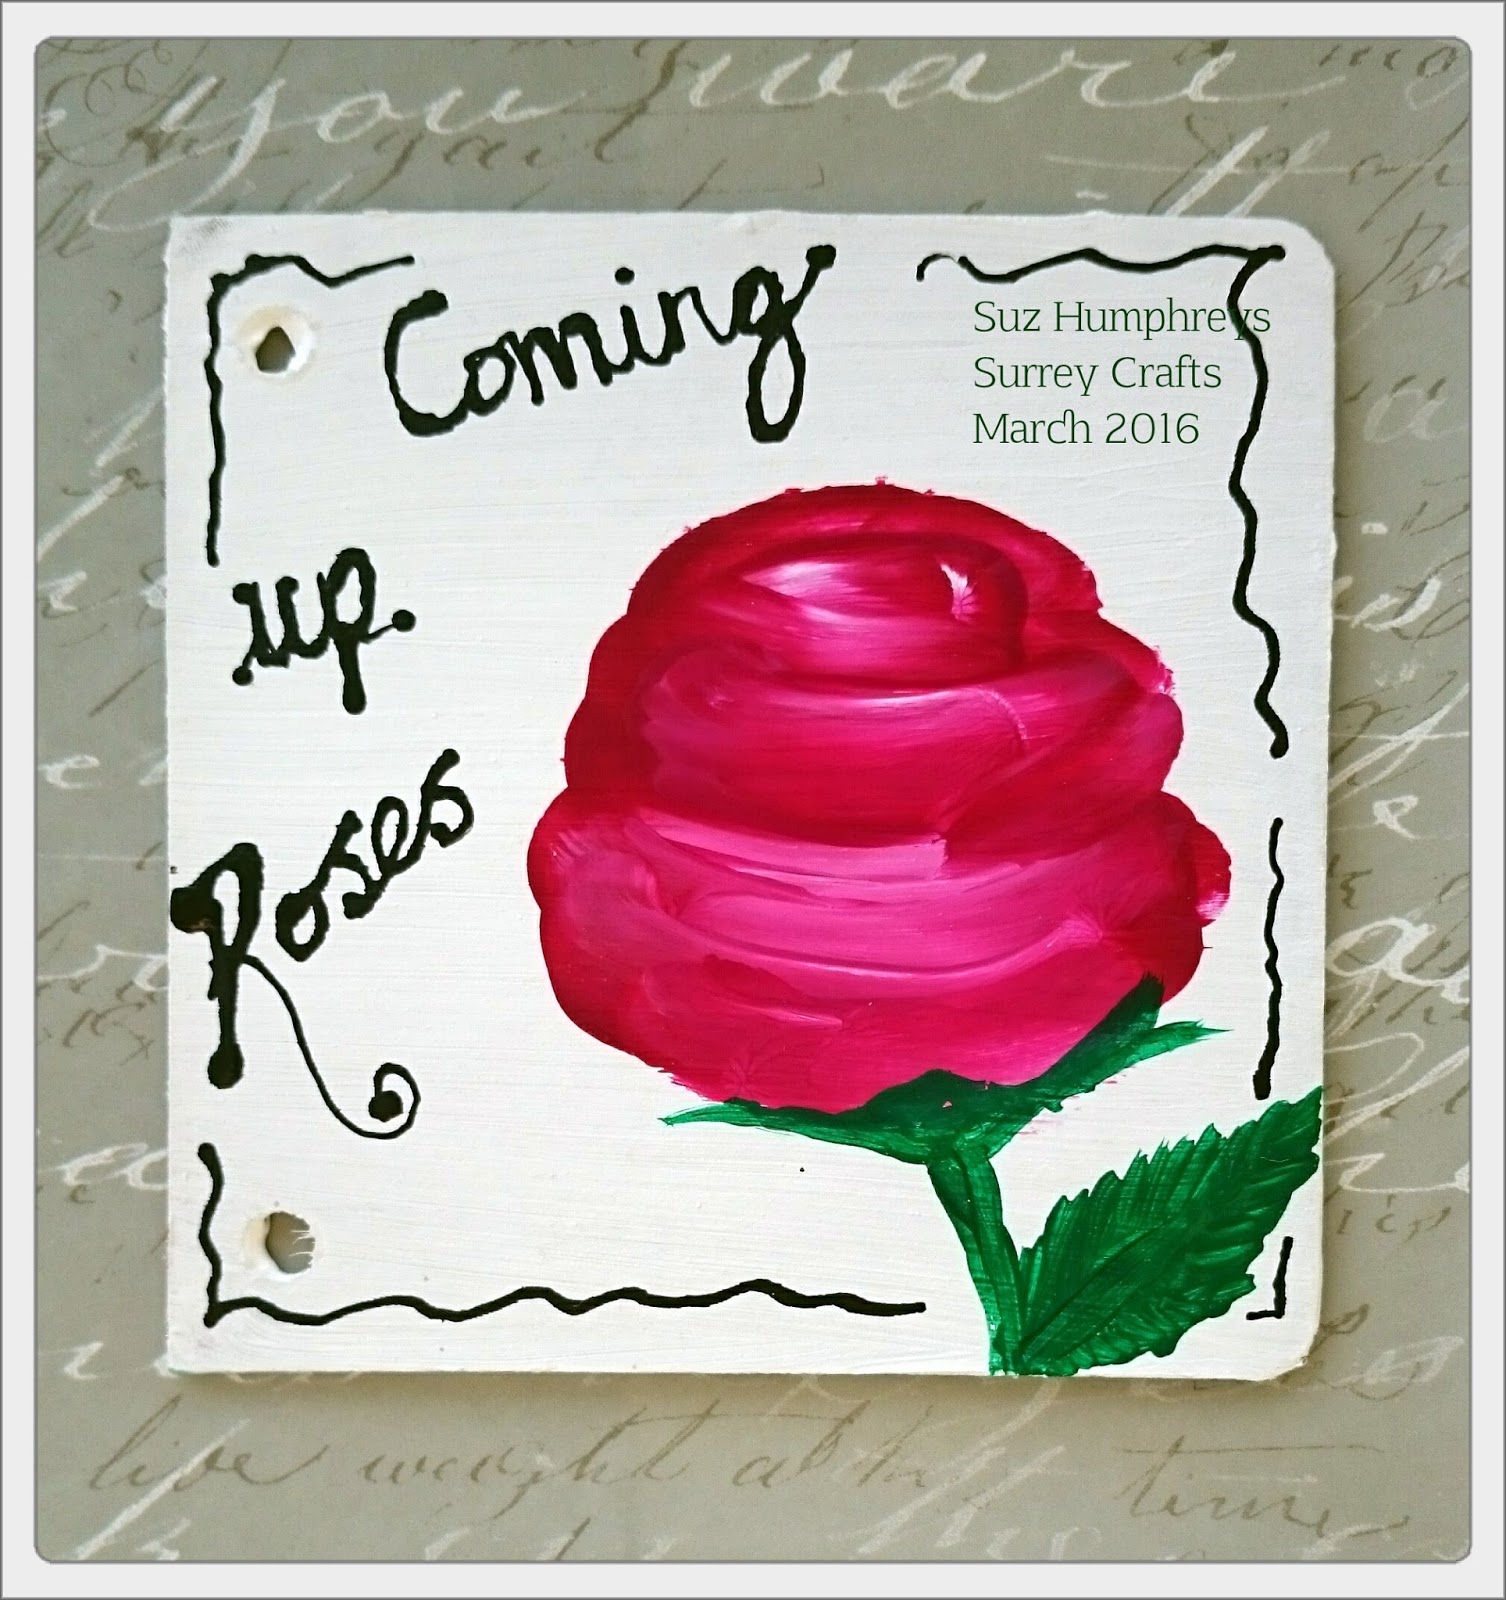
I then mixed a little green with the black and added leaves and a stem. And finally I tried ANOTHER new technique to try and write with the paints. I used added a few drops of the green and black paint to fine writer applicator pictured above. Spritzed in a few squirts of water. Gave it a shake, tried it out on scrap paper and then wrote directly onto the board - love it! With a little practice I hope to write more smoothly as the gesso was a little more textured than the practice paper.
Thanks for looking and enjoy!
Suz xxx
What fun! Great insight on your creative process too Suz. Thank you. Such a lovely flower - bright and bold and BEAUTIFUL. Delightful! j.
ReplyDeleteThanks so much Joi! Suz xxx
DeleteLove this effect will have ago thanks Joy x
ReplyDeleteOh fab! Would love to see how you get on! Suz xxx
DeleteBeautiful!
ReplyDeleteThanks for taking the time to read and comment Wanda! Suz xxx
DeleteGreat idea Suz! I love the effects achieved by using the gesso wet. Julia xx
ReplyDeleteThank you sweetie! Suz xxx
Delete