My little crafting world....


Hi all
I'm a complete craft addict! I have a small business called Surrey Crafts teaching craft workshops from my studio in Esher, Surrey and at venues around the country. I teach mixed media, decorative painting, card making and papercrafts, jewellery making and creative embroidery classes. If you'd like to find out more just leave a comment, or take a look at my other social media pages:
Facebook: https://www.facebook.com/surrey.crafts
Instagram: https://www.instagram.com/surreycrafts/
Pinterest: https://www.pinterest.co.uk/surreycrafts/
Crafty hugs & stuff
Suz

xx

Monday 20 August 2018

Floral Wreath card and full YouTube tutorial

Hi all

Today's post is a little different as it comes with a full YouTube tutorial for you instead of a long step by step post!
After running classes last weekend I had a full set of spares left over so took the plunge and recorded the process. Then spent hours waiting for it to upload, deleting it when it was the wrong way around and then working out how to rotate the view on YouTube when I uploaded again!!!

Click here to view - and please do subscribe.....you never know I may be brave enough to do another (if I can learn how to edit in Microsoft)!!!

Here are the samples, hope you like them and let me know if you have any questions!
Thanks for looking. ❤
Suz


Friday 3 August 2018

Look Inside Passport Book with my Eye Stamp on the Craft Stamper Mag


A little passport book for my Craft Stamper Challenge Blog Post today......using my eye stamp which is on the cover of this months Craft Stamper mag (I am soooo excited about it!).
 LOTS of layers of DecoArt Media Fluid Acrylics in reds, greens, blues, metallic silver, black and white (using brushes, the edge of a stamp block and my finger). Background stamping next with Andy Skinners Tech Trauma stamps, some using plain black Archival Ink, his text stamp embossed with white powder. Matt Medium to stick down some red metallic confetti circles. More layers of paints, and doodling with a black Micron Pen. On separate card I stamped and cut out the eye stamp, colouring the iris with diluted fluid acrylics. I created the 'frame of white' paint mentioned above using a rectangle of ‘Cut-N- Dry’ foam, I picked up white paint and squished it onto the front cover making a frame for the eye. Then glued on the eye image. The eye, white frame and edge of the spine were all outlined with a black Posca Pen and a Stabilo All pencil (blended with a waterbrush). I stamped out the ‘’Ouija’ stamp from Andy’s ‘Spook’ set and cut the letters for ‘Look Inside’ then glued them onto the cover and framed with the Stabilo All pencil. Spine and back cover added and voila!

Here are a few pics I took along the way.....

 ‘Vintage’ Chalky Finished paint to basecoat the covers then a coat of matt medium...…….
 Stamping....
 Distress Oxides
 Didn't like the way the eye turned out on the background so I changed that a bit later....
 More stamping...…...
 Red paint scraped on with a the side of a stamping block, white dots added when red was dry.
 Sponge on a shabby square/ rectangle of white paint, Stamped my eye stamp onto white card, coloured with cut it out and stick it over the original eye.....
 Doodled more, and added detail to the eye and blacj 'Stabilo All' for shading.
PaperArtsy stamp painted and stamped with green paint.....


Paints and splatters added to the spine....I cut it down to be the right width for this book.

 Stuck the front panel inside.....yes more eyes!
made the back cover and stuck that in too and finished!

thanks for looking, I hope you like the book and my stamp too! 
Suz xxx

You REALLY Should Have Called

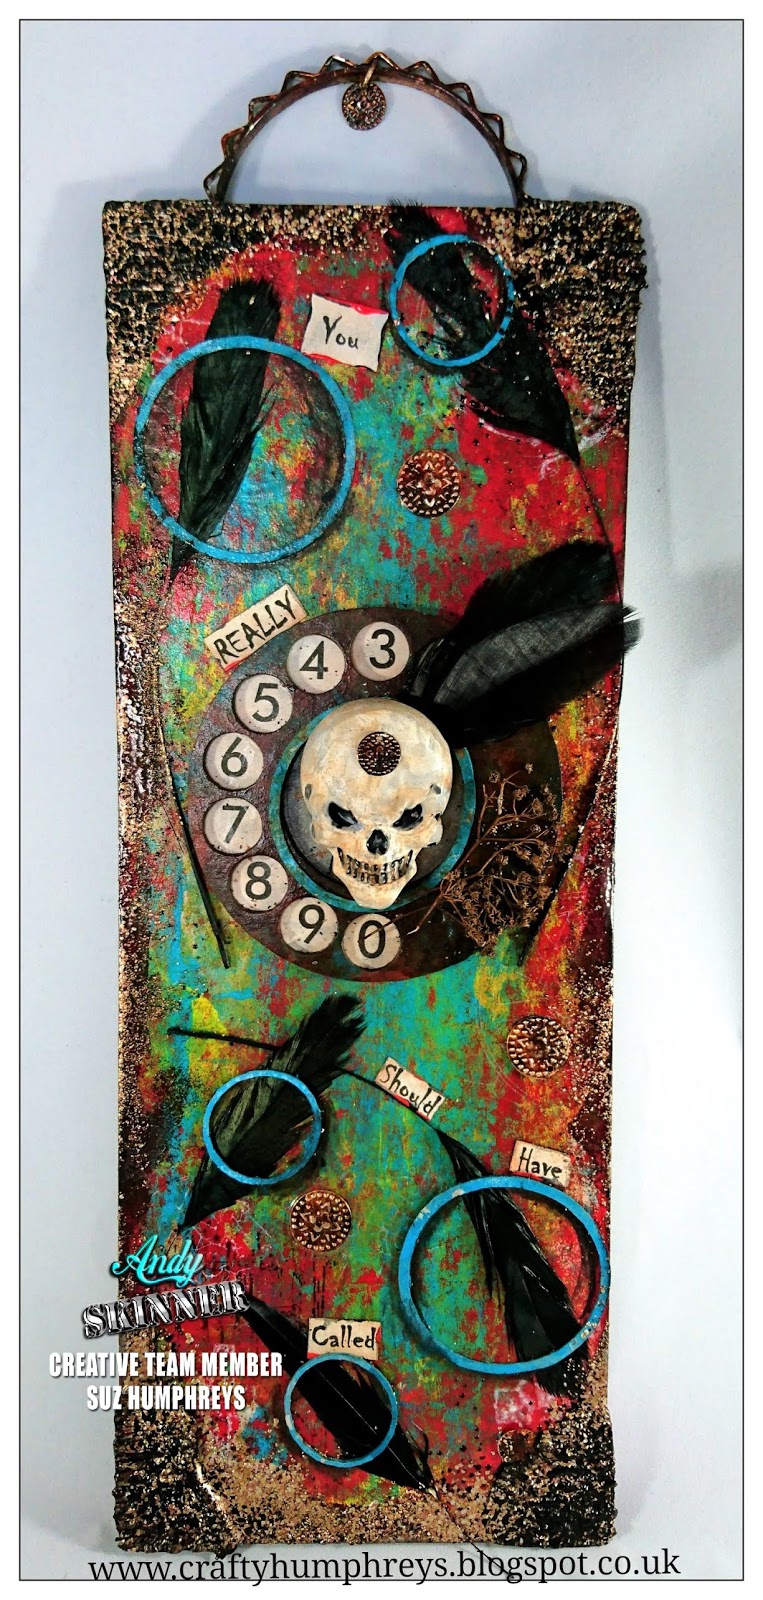
How wicked do you feel when you genuinely forget to call that person you were supposed to call.....and you know they will make you feel REALLY guilty when you call them the next day? That's what this post is about.


Here's my latest post as part of Andy Skinners Creative Team. Using some of Andy's stamps and his lush 'so call me' kit plus a skull he let me have! DecoArt Paints, Stampendous Enamels an upcycled cake board (yum!) and a repurposed bracelet too.

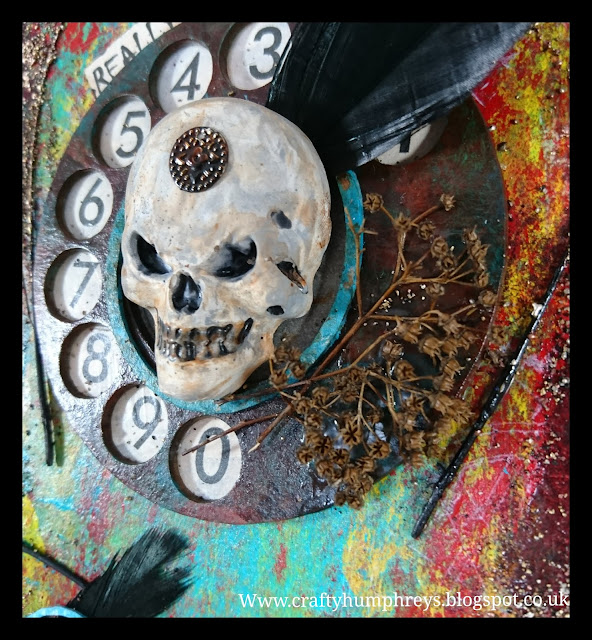
 I used the amazeballs skull that Andy had given me, (he's got an online class on casting click HERE to see it) this had a gorgeous smooth finish and took paint beautifully. Using Grey paint to base, then Paynes Grey in all the hollows and also on the clock dial I used, then a wash of Quinacridone Gold as always! I also added Andy's 'dirty wash' to the paper clock numbers what come in the kit.


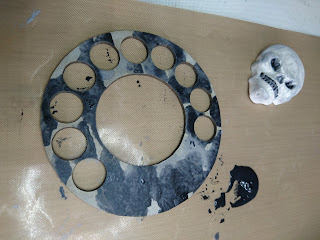
I mentioned this project started with a cake.....and this is the cake board I have up-cyled, I didn't take a pic beforehand as didn't think I'd use if for a blog project! It was from a delish caterpillar cake, lol.  I was working on a Passport Book which I've already blogged about - including colours used (see it here) and used this board just to brayer off paints (it was a green foil base, and I had washed it!) thinking the paints would add a nice texture. I really liked how it looked - so that's why I used it for this instead!


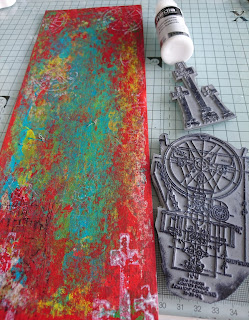
You can see in this pic I used two of Andy's stamps and white paint - but the images did really get a bit lost as I added different elements to the board!


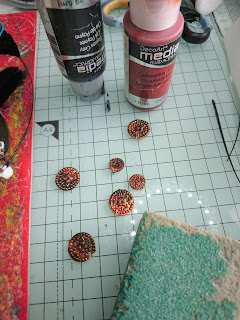
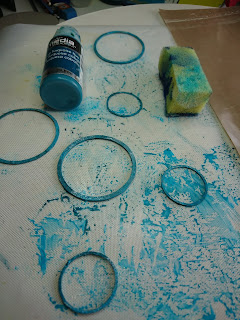
I took the rings that are in the clock kit, put them into water for a minute and split them to make thinner rings. Gave them a coat of Cobalt Turqoise Hue.


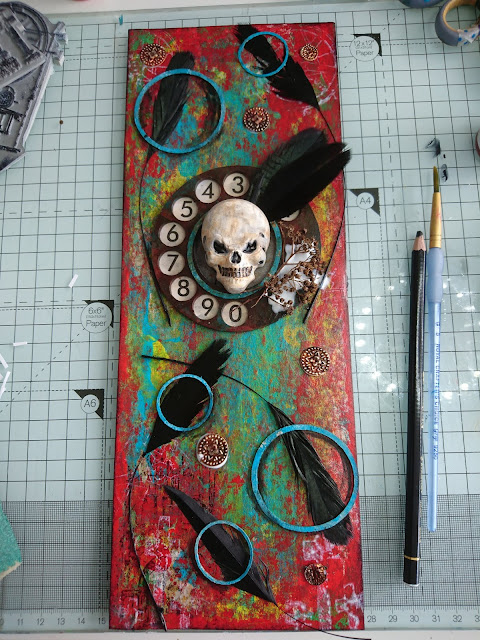
 Once I'd done my stamping I added a layer of decoupage glue and stuck down the dial (with the numbers already stuck behind it) and two feathers - I'd worked out where I wanted to place them under the skull.
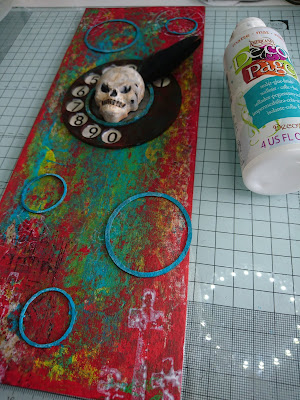
Next I added the skull, and laid out where I wanted the rings to go. 
I grabbed a few more feathers to place under the rings and glued them all down, you can see the glue still wet in this pic, but it dries clear, I trimmed off the really long feather tails.
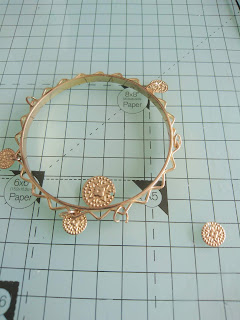
I thought the feathers made the project looked a bit reminiscent of Native American Indian art so found a bracelet to take apart for it's discs....then decided to use the bracelet itself as the hanging part of the project. I painted both with the usual usty colours and then rubbed over with a sanding block to expose the raised areas.


I used a Stabilo All pencil around some areas of the rings, then added water to add depth and shading.
 Found a kinda spooky font on my laptop and typed out some words. Grunged with a dirty wash, edged with Paynes Grey and then Pyrol Red in random areas.
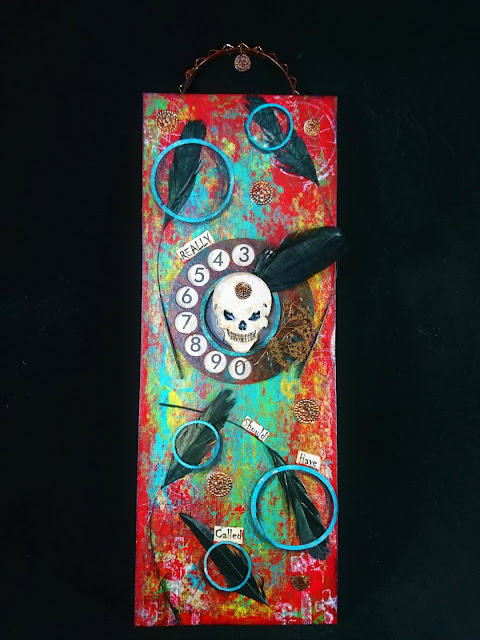
A few dried, rusty coloured flowers on the gap in the dial. Then Stampendous Embossing enamels added all around the edges. In the corners where I could add several layers, I used one of Andy's stamps from his Gothic Grunge set to add a bit of texture.

And here he is!
Thanks for looking!
Suz
xxx